How to Replace Trimmer Line
Overview
The trimmer line is an essential component of your whipper snipper, responsible for doing the actual cutting work. Whether you're trimming grass or edging your garden, the line’s condition directly impacts your tool’s performance. If it’s worn out, frayed, or broken, your whipper snipper won’t be as effective. The good news? Replacing the trimmer line is a quick and simple task that anyone can handle with ease. With a little guidance, you’ll have your tool working like new again in no time!
What Is a Line Trimmer?
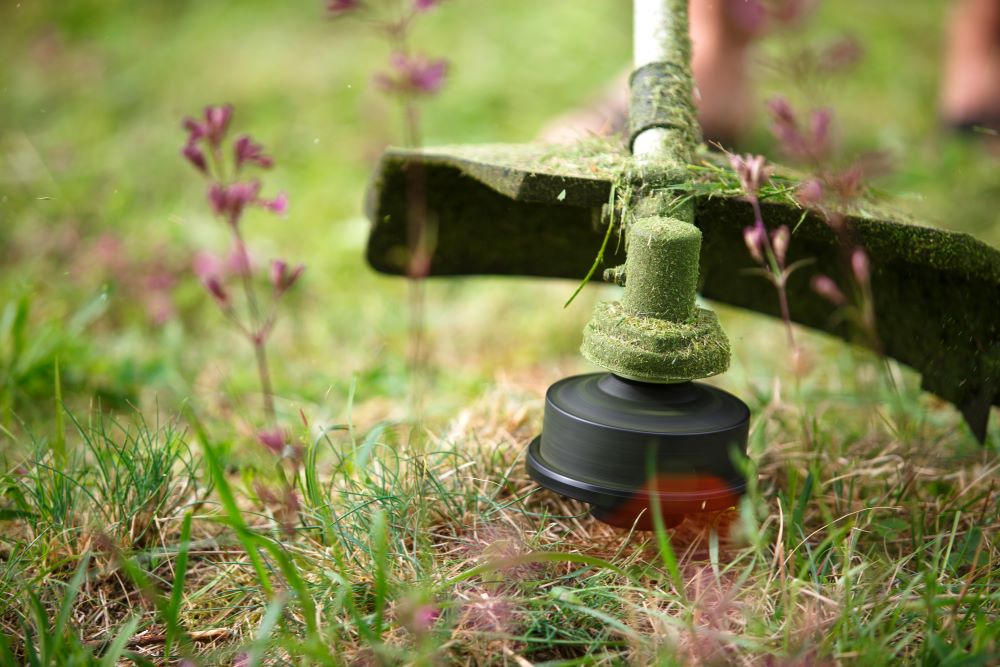
Line trimmers, also commonly known as weed eaters, grass trimmers, weed whackers, or whipper snippers, are essential tools for keeping your yard tidy. The trimmer line is the core component of these tools—a specially designed, fast-spinning string housed in the trimmer's head. This string is responsible for slicing through weeds, grass, and other vegetation with precision. Unlike the traditional blades found in lawnmowers, trimmer lines rely on centrifugal force to maintain their rigidity and cutting power as they spin rapidly.
Why a Good Trimmer Line Matters
Using a quality trimmer line makes all the difference when it comes to getting the job done right. Some lines break more easily and leave messy cuts which can ruin your trimming experience. A high-quality trimmer line can get the job done quicker, cleaner, and neater - plus it lasts longer, making it cheaper and less hassle in the long run.
How to Pick the Right Trimmer Line
Choosing the right trimmer line is essential for achieving better results and ensuring a smoother trimming experience. Start by considering your trimmer type, whether it’s curved or straight, as this will help determine the most suitable line. Next, think about the material—tougher tasks require durable lines made of nylon, polyester, or fiberglass, while plastic lines may not hold up in challenging conditions. Lastly, pay attention to the thickness and length of the line. Always stick to the thickness recommended in your trimmer’s manual, as using a line that’s too thick or too thin can negatively impact performance.
Need options? Try Bynorm Orange Trimmer Line 2.4mm x 12m and Bynorm Green Trimmer Line 2.0mm x 61m for great results.
Replacing Your Trimmer Line
Even the best trimmer lines wear out over time and will eventually need replacing. The good news is that this task is straightforward and something you can easily handle yourself in just a few minutes. While each trimmer model may have its own unique design, the process of replacing the line typically follows the same basic principles. With a little patience and the right approach, you’ll have your trimmer back in action in no time, ready to tackle grass and weeds like a pro!
Items
Steps
Disconnect the Trimmer
Unplug it from power (motor, battery, or outlet) for safety.
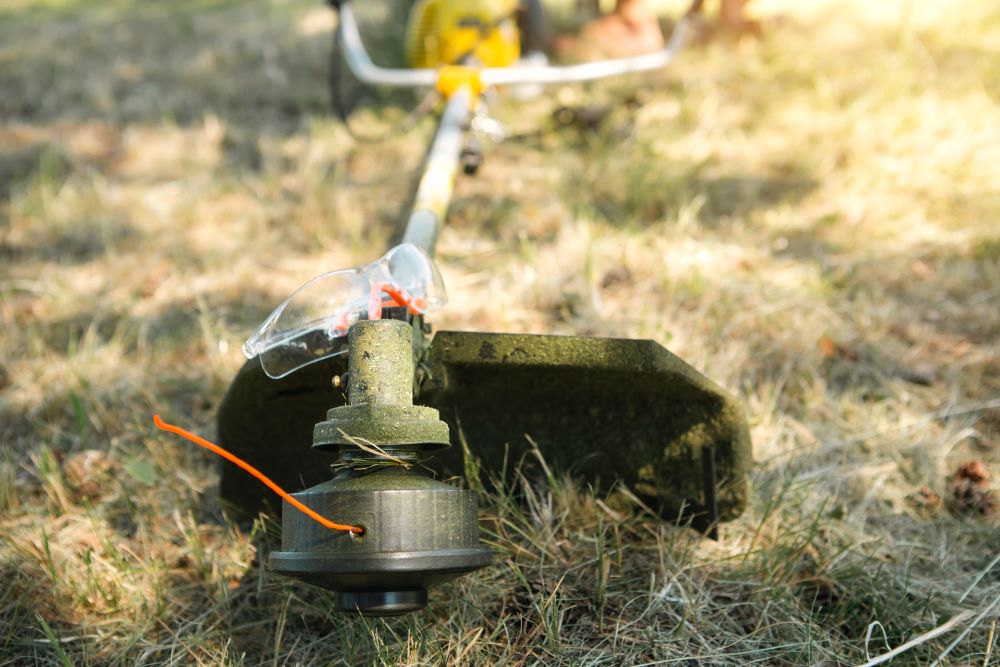
Remove the Old Trimmer Line
Open the trimmer head and take out the old line. Use a screwdriver or pliers if it’s stuck.
Cut a New Line
Use scissors to cut the correct length of line (check your manual for the recommended size).
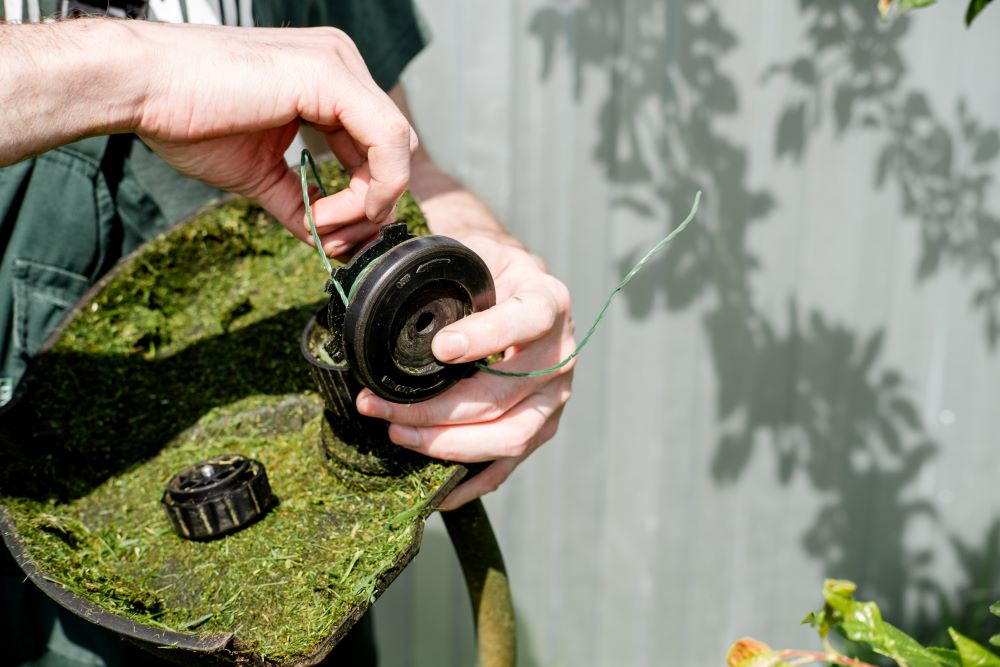
Install the New Line
Feed the line through the eyelet and wind it evenly around the spool (follow the arrow on the spool for direction). Avoid overlaps.
Secure the Line
Thread the other end through the eyelet and tighten the trimmer head to keep it secure.
Tips & FAQs
How Long Should a Trimmer Line Be?
The length of the trimmer line you need depends on the specific model of your trimmer. Some trimmers are designed to work with shorter lines, typically around 3 metres, while others can accommodate longer lines, up to 6 metres or more. Opting for a longer line not only reduces the frequency of replacements but also ensures you have enough to handle larger jobs without interruption. Always check your trimmer's manual to confirm the recommended line length for optimal performance.
Why Does My Trimmer Line Keep Breaking?
If your trimmer line keeps breaking, it’s often due to common issues such as incorrect string length, improper wrapping, or using the trimmer near hard surfaces like concrete or wire fences. Low-quality lines are also more prone to snapping under pressure. Switching to a durable, high-quality trimmer line can reduce breakage and improve performance. However, it’s important to remember that a trimmer line is a consumable item and will naturally wear out over time. Learning how to replace it correctly is not only essential for keeping your tool in top condition but also part of the rewarding experience of property maintenance.
When Should I Replace My Trimmer Line?
Knowing when to replace your trimmer line depends on how frequently you use your tool, but there are clear signs to watch for. If your trimming becomes ineffective, the line appears floppy or worn out, or you experience frequent breakage, it’s time for a replacement. Upgrading to a reliable, long-lasting line can make a significant difference in performance. For a wide selection of durable trimmer lines, check out the trimmer lines range available at Supercheap Auto.
*Important information* - Click here to read more about our DIY Advice Terms and Conditions.