A temporary carport can be a great way to protect your pride and joy if garage space is at a premium, however assembly can be a little daunting. With the help of this video, a bit of care and attention, and by following the instructions properly you can have your temporary carport up in no time. The instructions here can also be applied to the assembly of a party marquee or other similar covers, but be sure to refer to your instruction manual for any differences.
What you'll need:
Step 1 - Layout
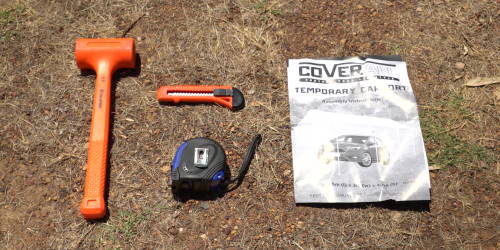
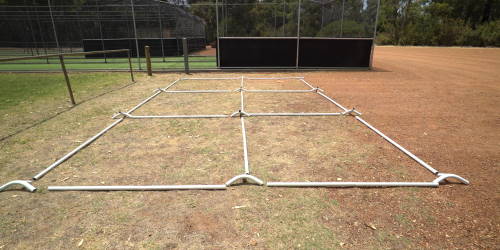
Before you begin, make sure you have the right tools for all of the provided fasteners - and you might want to recruit a friend or two to assist you. To begin with, lay all of the poles and corner joiners on the ground as per the diagram in your instruction manual.
Step 2 - Assemble Roof
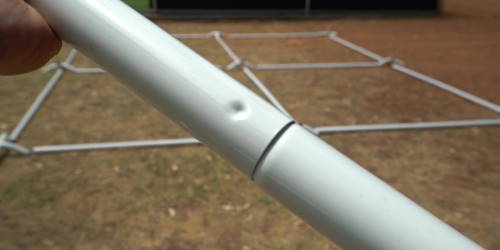
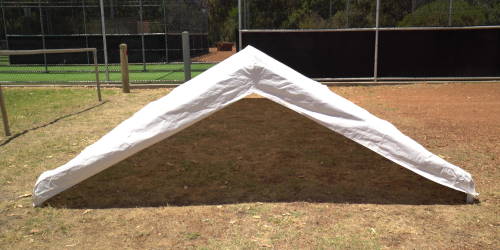
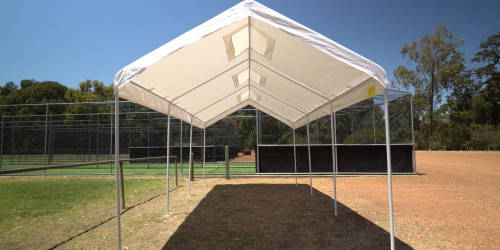
Start from the centre of the carport and begin assembling the pieces, by pushing whilst twisting the poles together until they lock into position. Work outwards, and once the entire roof assembly is complete, place the tarp over the roof rafter. Secure the hook & loop tapes in place - starting from one end and alternating sides as you progress.
Step 3 - Assemble Legs
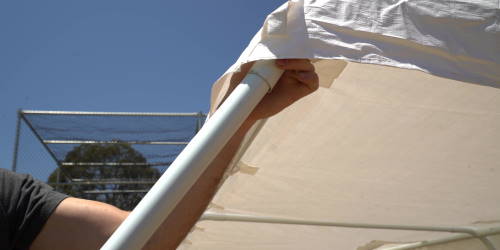
Once the roof rafter is assembled and the tarp is firmly secured, it’s time to assemble the legs. Lift one side of the carport and insert the assembled legs, then repeat the process for the other side. If your carport or marquee has walls, these can now be secured to the legs using the straps provided.
Step 4 - Anchor
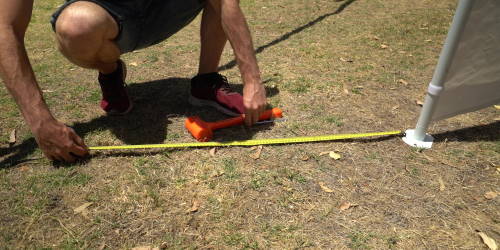
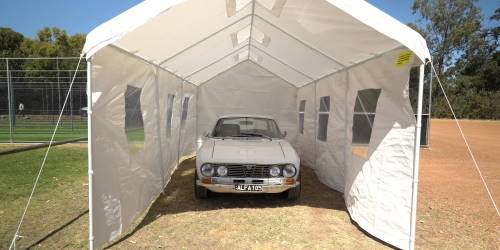

To anchor the carport, first place it in your preferred location. Make sure that it stands on firm ground, and as close to level as possible. Secure the leg brackets in place with two pegs each. Next, measure out from each leg approximately ninety centimetres and place a peg in the ground. Leave around five centimetres between the ground and the top of the peg.
Secure one end of the rope to the top of a leg then pull the rope tight and tie the other end to the peg. Push the peg into the ground until the bottom of the plastic bracket is flush with the ground and repeat the process for the remaining legs. Congratulations, you’ve now completed your carport, or party marquee and are all set to enjoy it.
*Important information* - Click here to read more about our DIY Advice Terms and Conditions.