How to Remove a Seized Nut Or Bolt with a Nut Splitter
Overview
A nut or bolt with a rusted or rounded head is a frustrating problem, and all too common on old vehicles and machinery.
There are many tricks to removing the damaged fastener, but none as quick and simple as the ToolPRO Nut Splitter.
Steps
Locate & Attach Nut Splitter
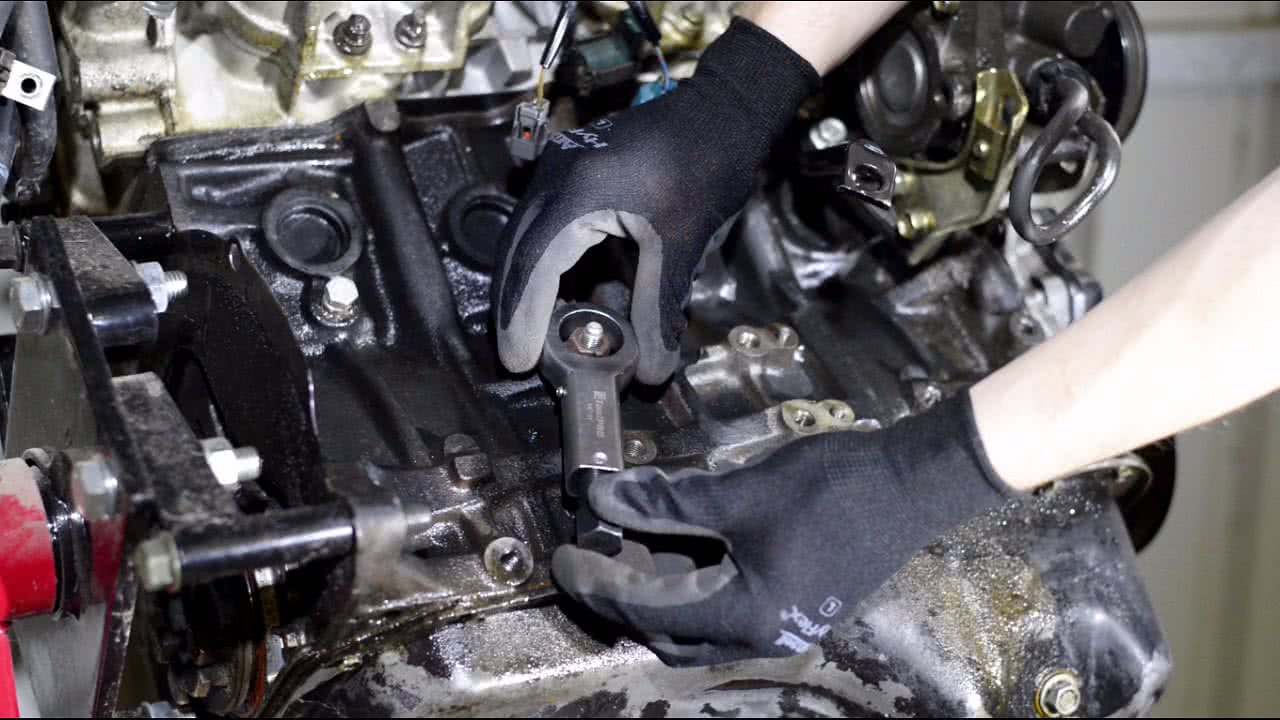
Locate the seized nut and attach the nut splitter like so.
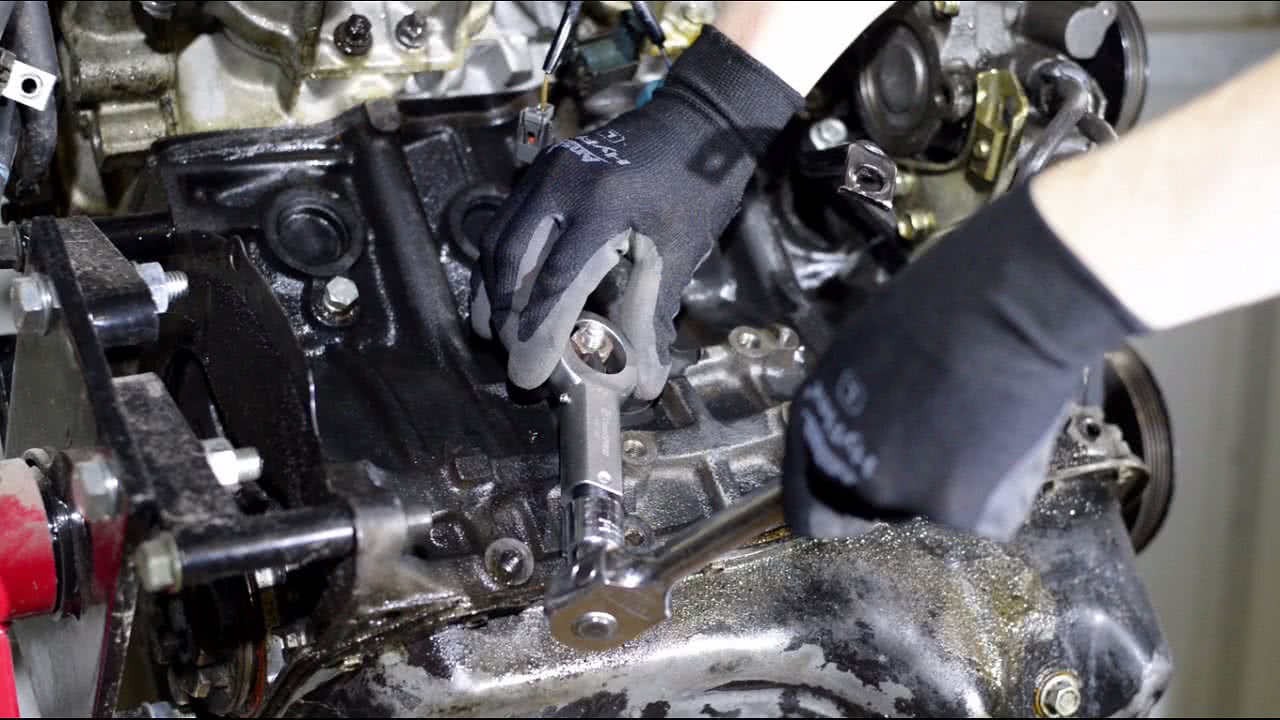
Ensure you face the adjuster bolt in a direction which will allow you to fit a ratchet or spanner to it. Try to split the nut in a spot that allows to access to the adjuster bolt from both sides, as you may need to break the nut in half by performing this twice.
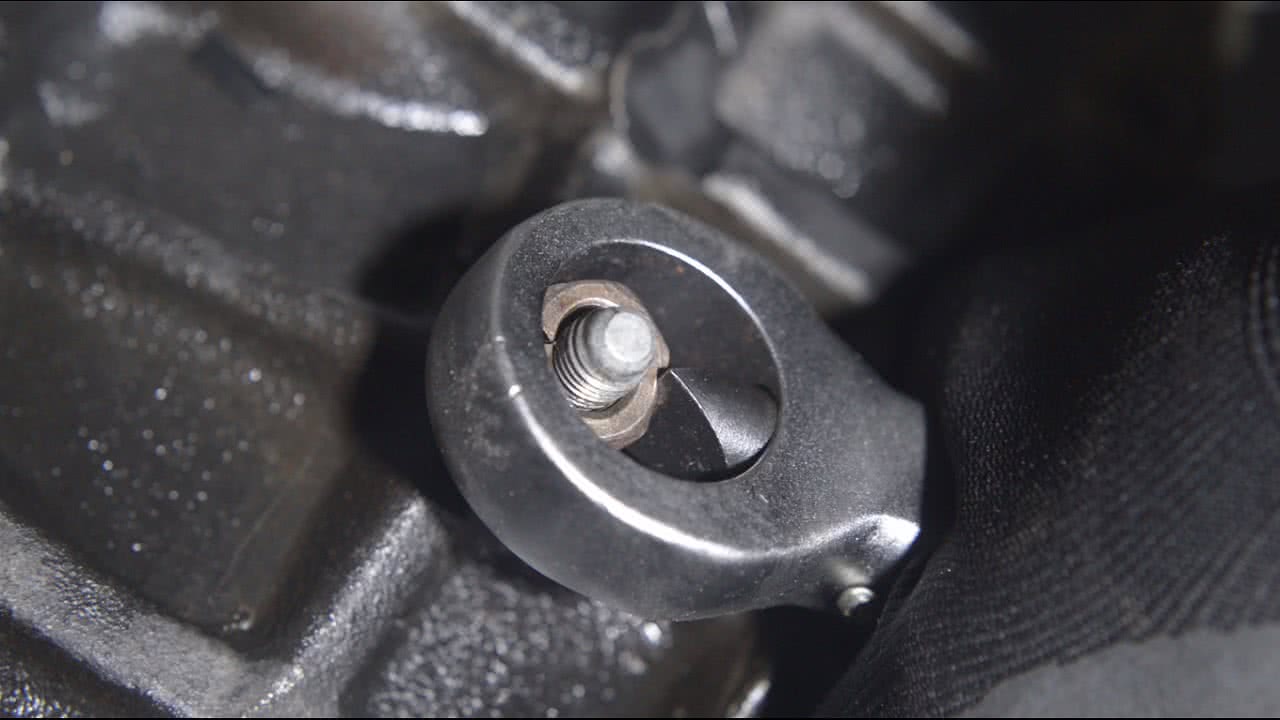
Tighten the thread until it makes contact with the nut.

Tightening & Adjusting Bolt
Now to split the nut, it’s simply a matter of tightening the adjuster bolt until the nut splits.
Be careful not to damage the thread on the bolt.

Repeat Step
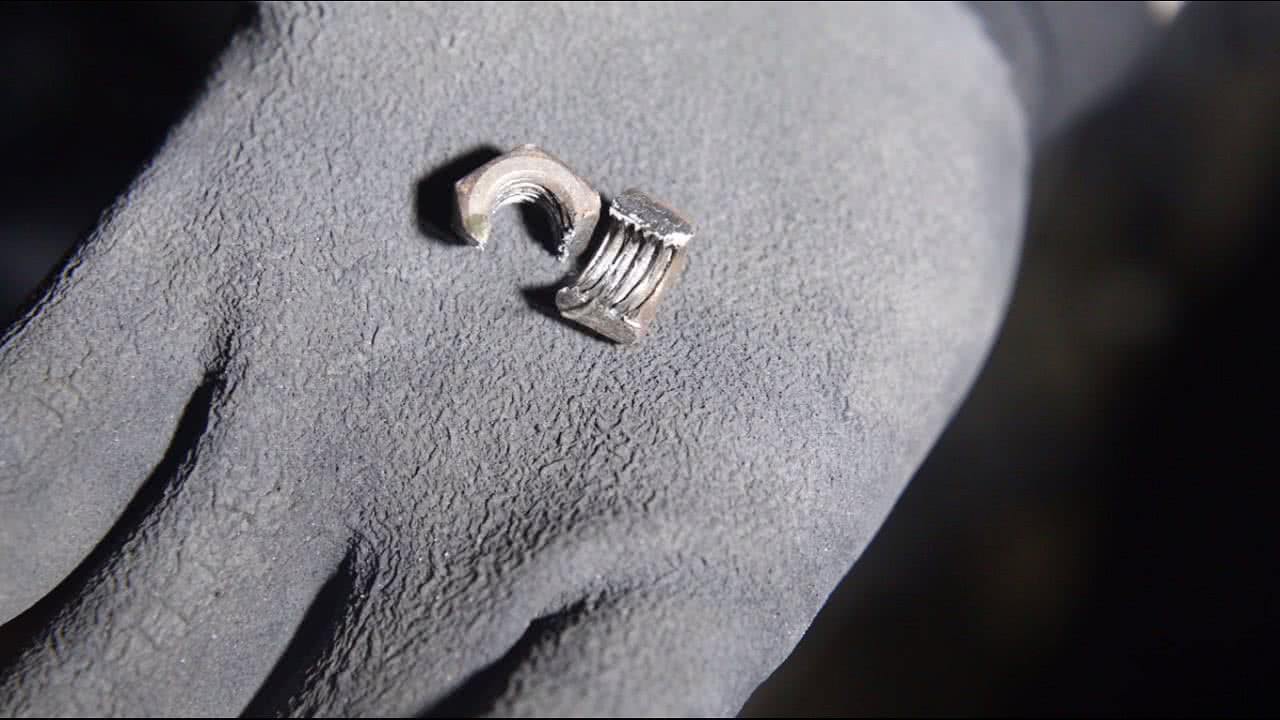
Depending on the nut, you may need to repeat this step on the other side to completely remove it.

Remove Nut Completely
That's it! Simple!
The nut should now be completely removed.
Now, just head into your local Supercheap Auto store and grab a replacement!

*Important information* - Click here to read more about our DIY Advice Terms and Conditions.