How to use a clutch alignment tool
Overview
Aligning a clutch disc, pressure plate, and gearbox shaft after replacing the clutch – need not require a perfect eye and uncanny skills. The ToolPRO Universal Clutch Aligning Tool is all you need.
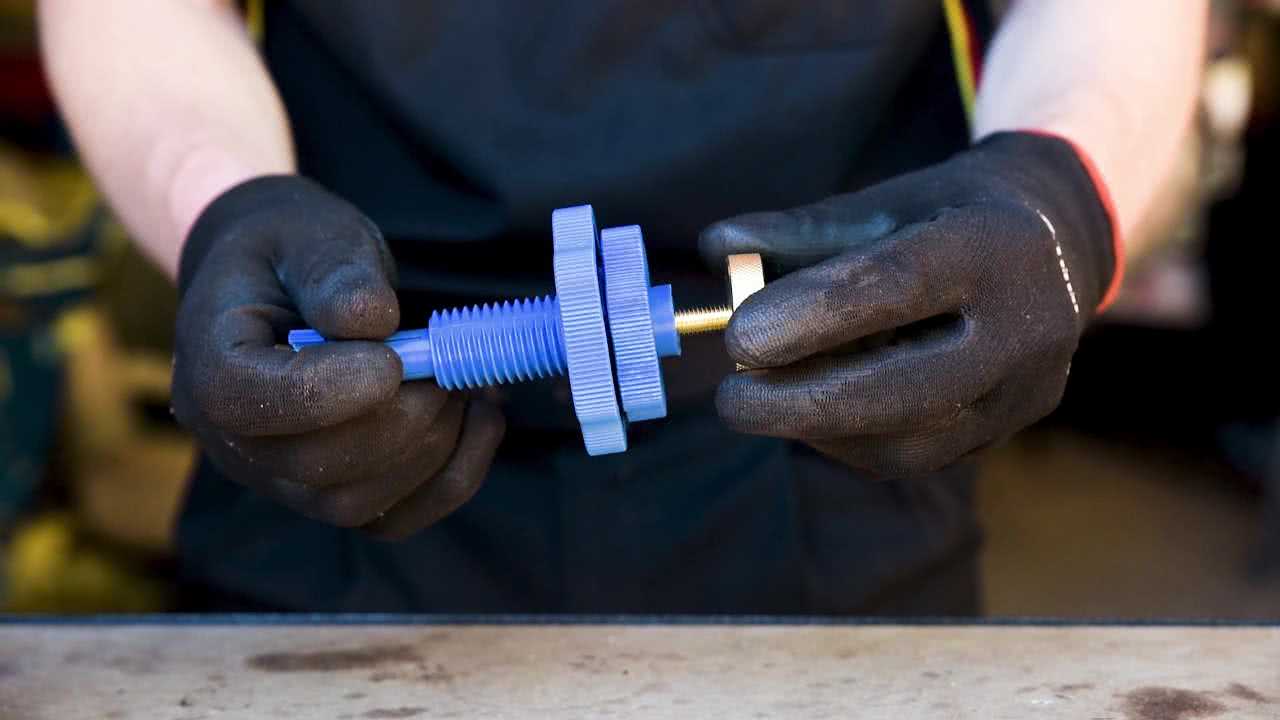
The 6 simple parts in this kit will ensure that every piece in the clutch assembly lines up – before you even place it on the flywheel.
Steps
Select a Collet
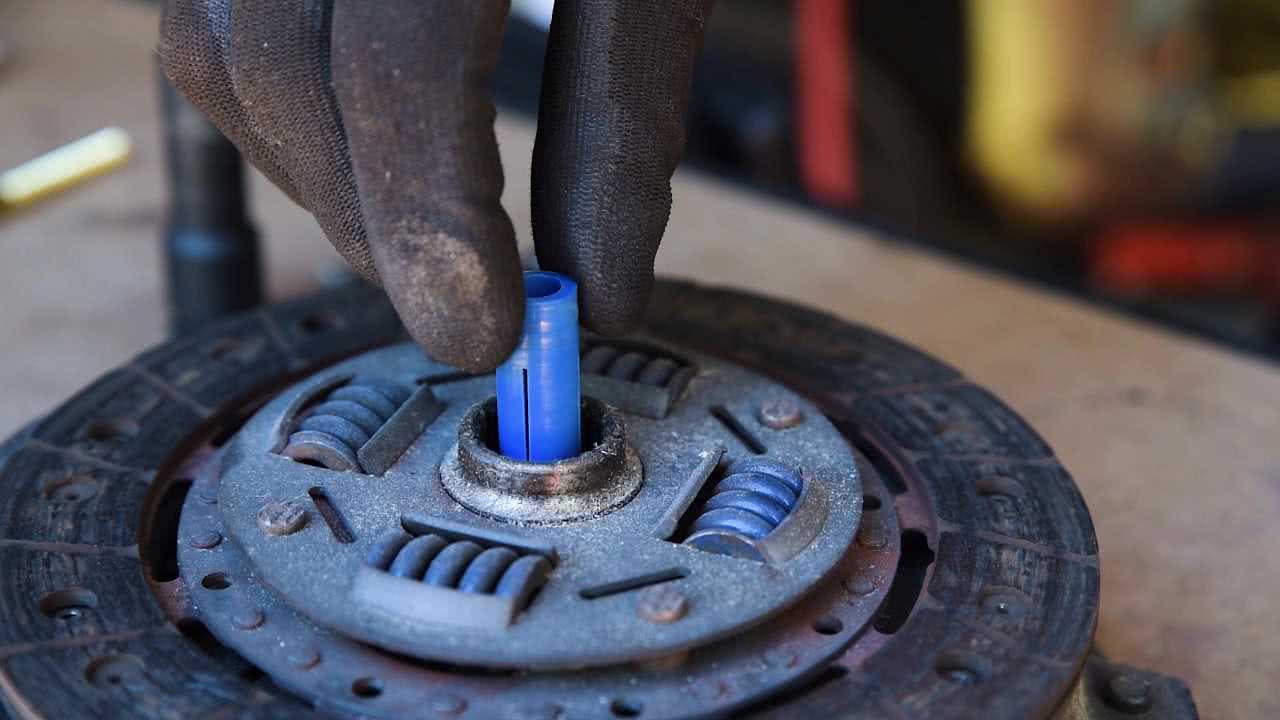
First of all, select a collet from the three available. This should match the splined hub as closely as possible. Assemble the tool with the splined hub as shown, and thread the brass nut onto the back.
Insert the Tool
Ensure the clutch disc is facing the right direction; and place the pressure plate over the top. Now insert the tool, ensuring the plastic collet locates inside the spline. Hold the tool steady, and tighten the brass nut firmly.
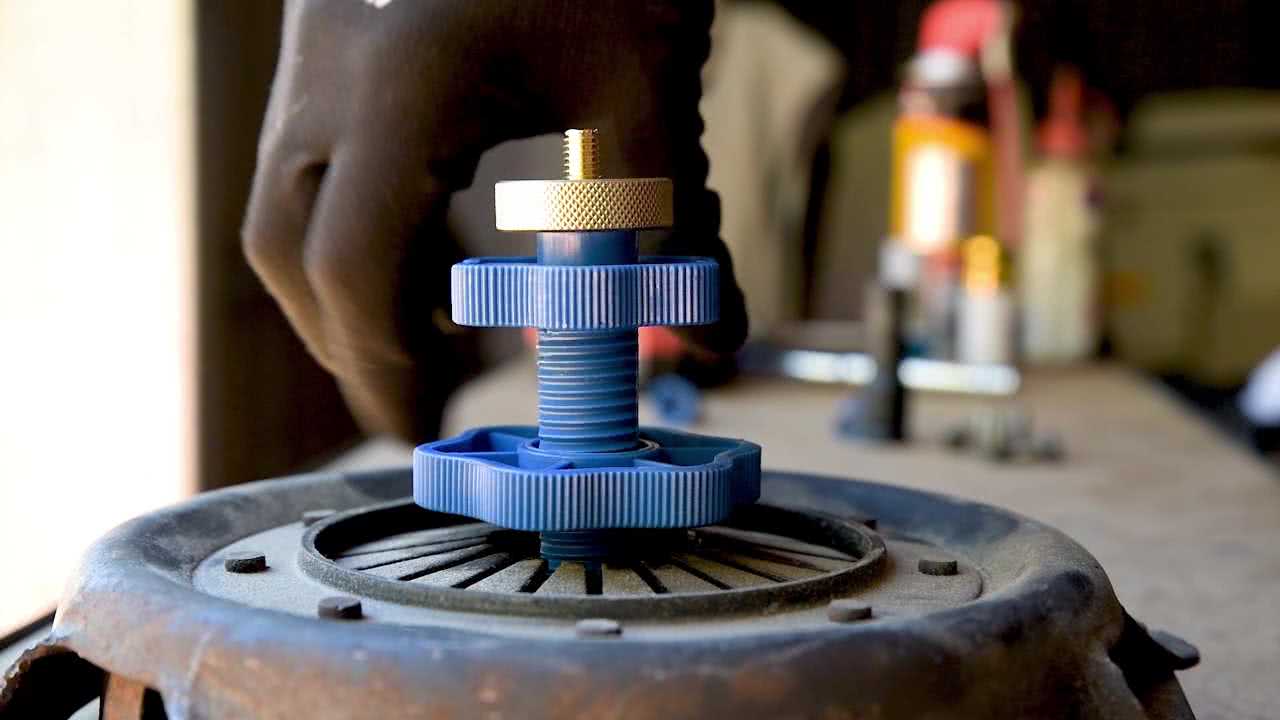
Tighten Nut
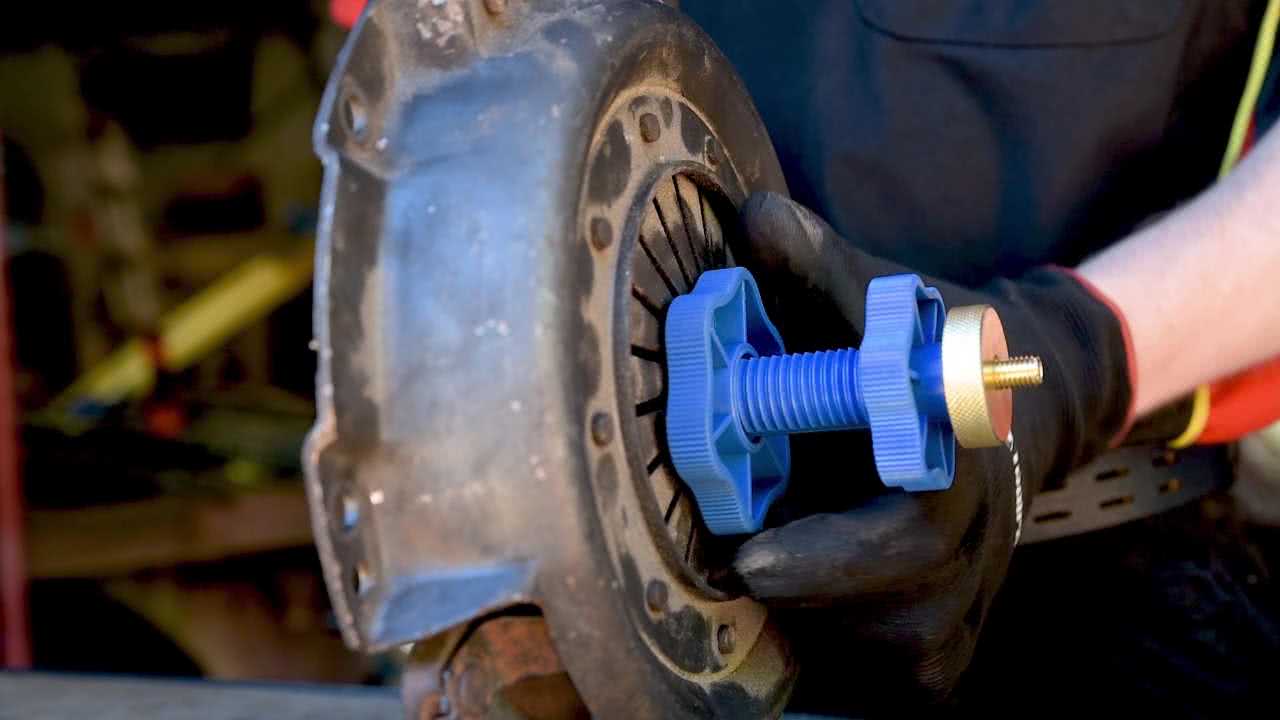
Tighten the large plastic nut against the fingers of the pressure plate, just enough to hold it all steady – then turn the pressure plate over. There should be just enough pressure on the clutch disc to hold it steady, yet still be movable with slight force. Slide the clutch disc around until it is dead centre on the pressure plate – then further tighten the large plastic nut to ensure it doesn’t move.
Mount to the Flywheel
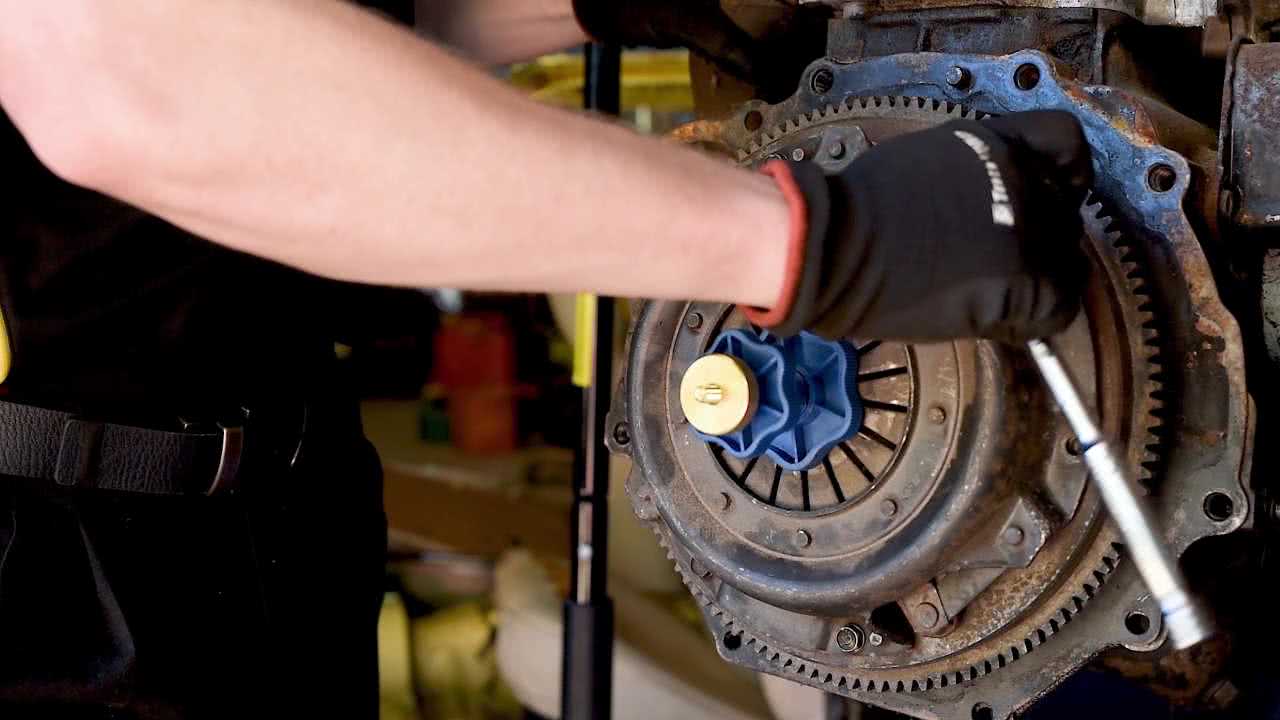
At this point your clutch assembly is ready to be mounted to the flywheel. Just fasten the pressure plate to the flywheel before loosening the large plastic nut on your aligning tool – and removing it completely.
The pressure plate will hold the clutch disc in place, and make lining up the gearbox shaft a breeze.
Tips
- As all engines are designed differently, Make sure you refer to your owners’ manual for the correct procedure.
- Always wear protective gloves when handling dirty, greasy parts.
*Important information* - Click here to read more about our DIY Advice Terms and Conditions.