How to Paint Your Brakes with Brake Caliper Paint
Overview
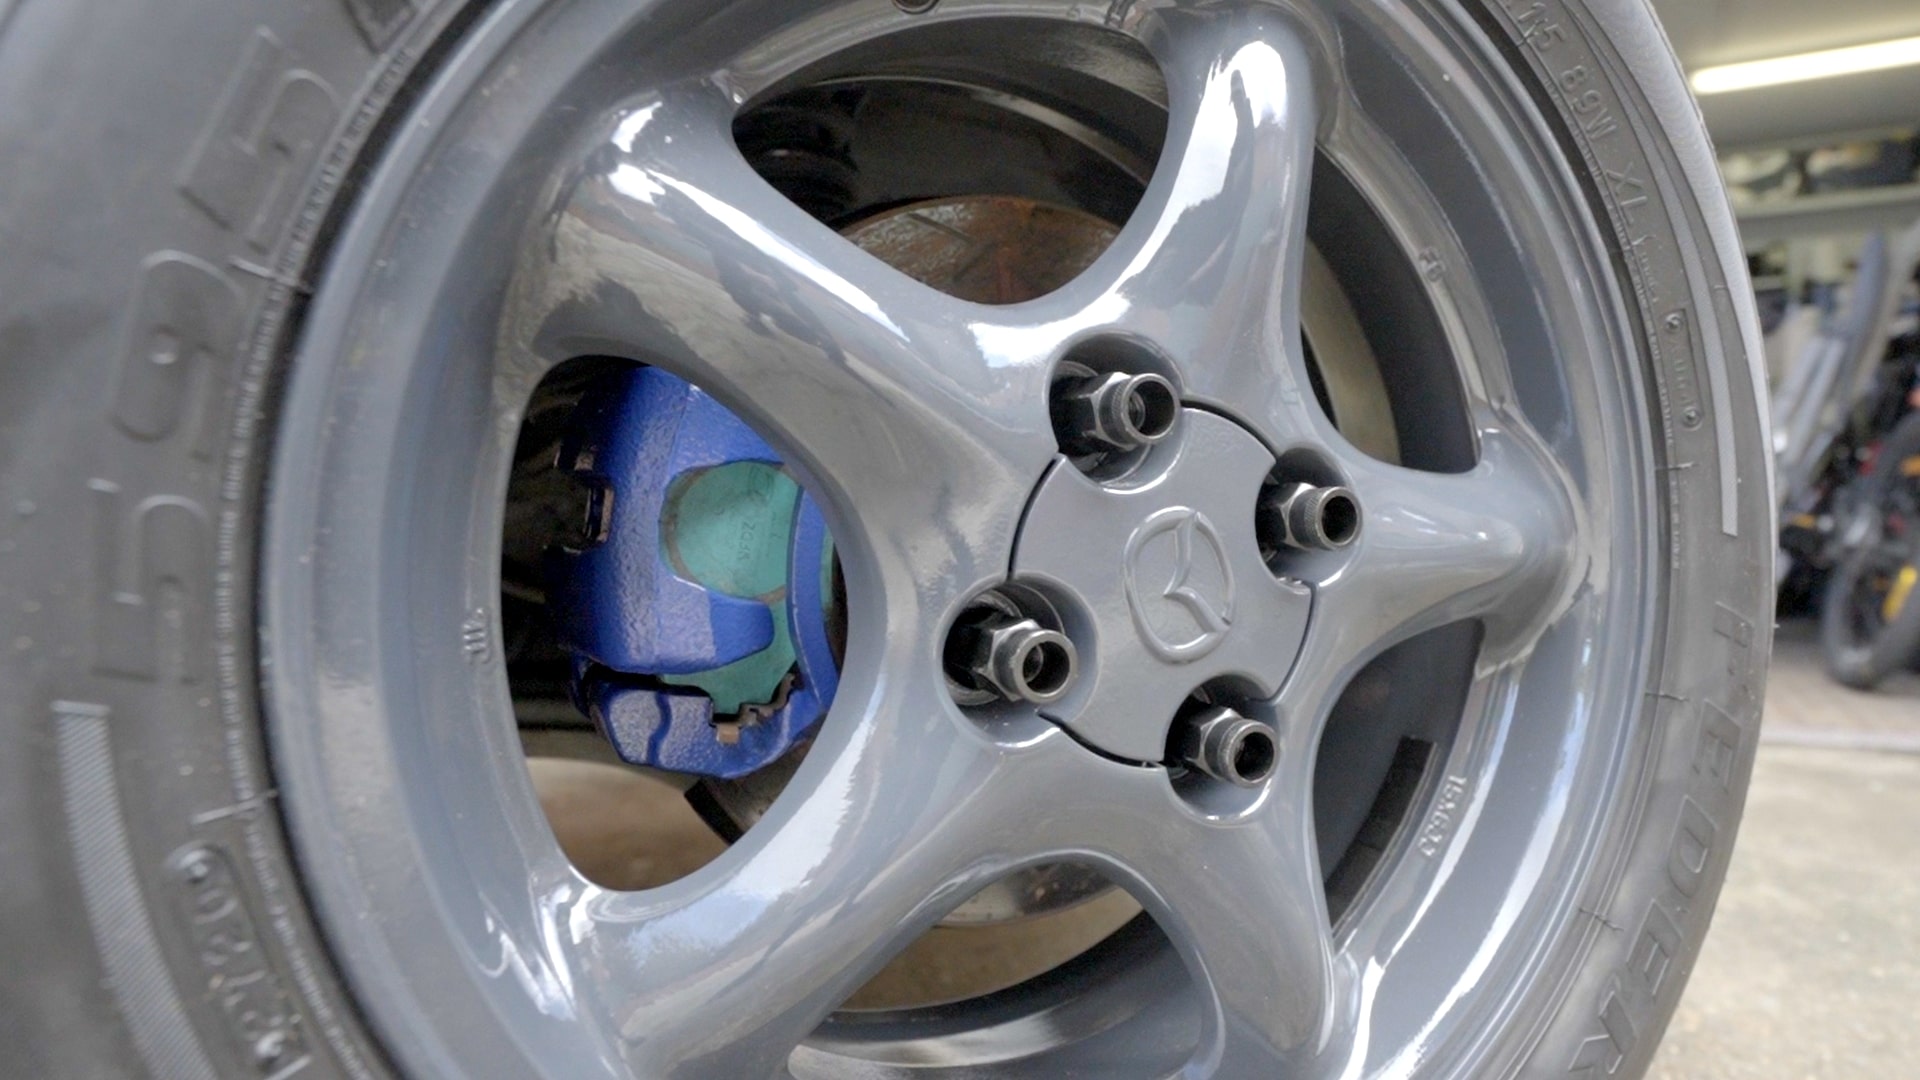
So, you’ve gone through the effort of painting up your wheels, or just laid down your hard earned money on a brand new set. But something is missing. They don’t quite POP! A little splash of colour on your brake caliper might be just what you need. Let’s dive right into it and paint your brakes with brake caliper paint.
Items
- PPE including gloves, glasses, and a mask
- A trolley jack and 4 axle stands
- A comprehensive tool kit to remove your calipers
- A workshop manual to assist in removing your calipers
- A wire brush, or power drill & wire brush attachment
- Some rags or microfibre towels
- Wire to hang your parts while you paint them
- Montana solvent
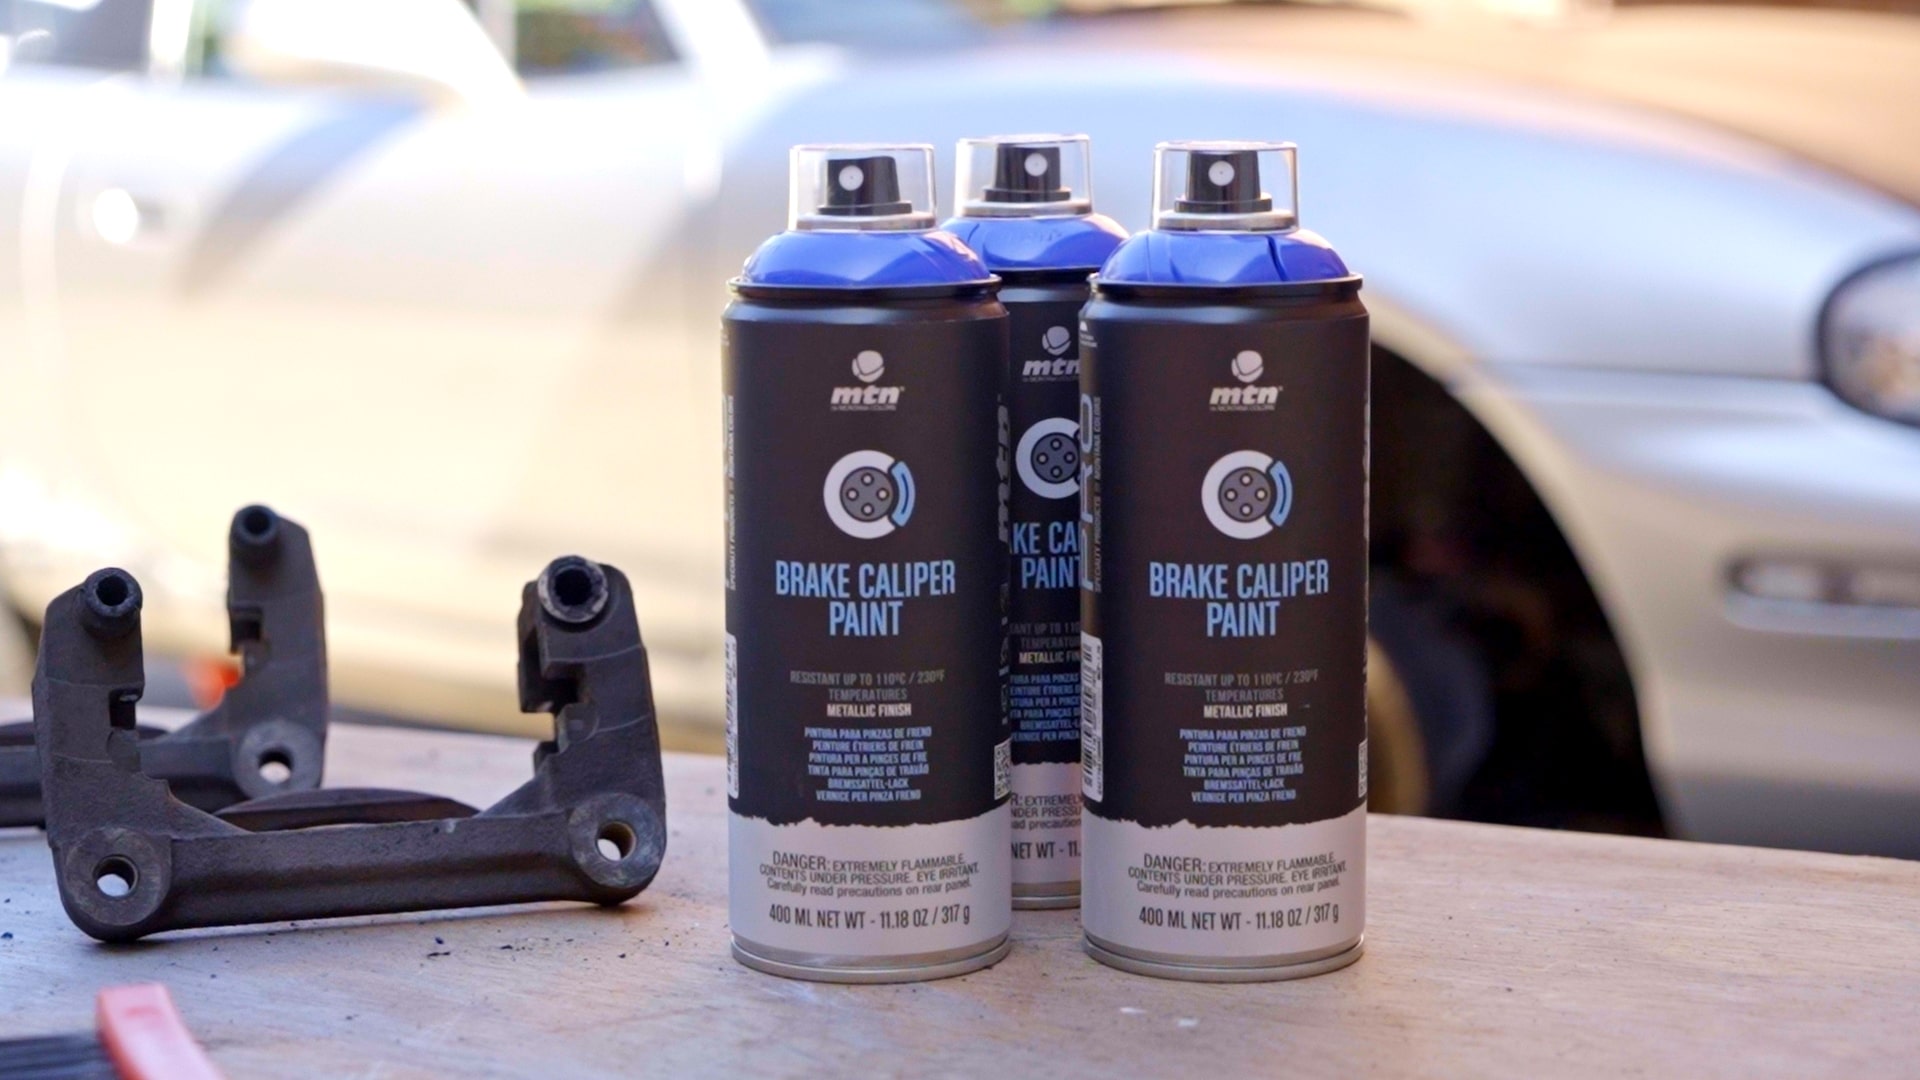
- Montana Brake Caliper Paint
Steps
Step 1: How to remove brake calipers
Before you dive into the job, slip on your gloves and safety glasses. Now you can use the trolley jack to raise your vehicle front and back and support it on axle stands.
Next, the wheels can come off and now you’re ready to remove your calipers. Your brake pads will need to come out, and the piston must be pressed all the way into the brake caliper.
Our ‘how to replace brake pads’ DIY will be helpful for this part, but you also should refer to your workshop manual for instructions specific to your vehicle.
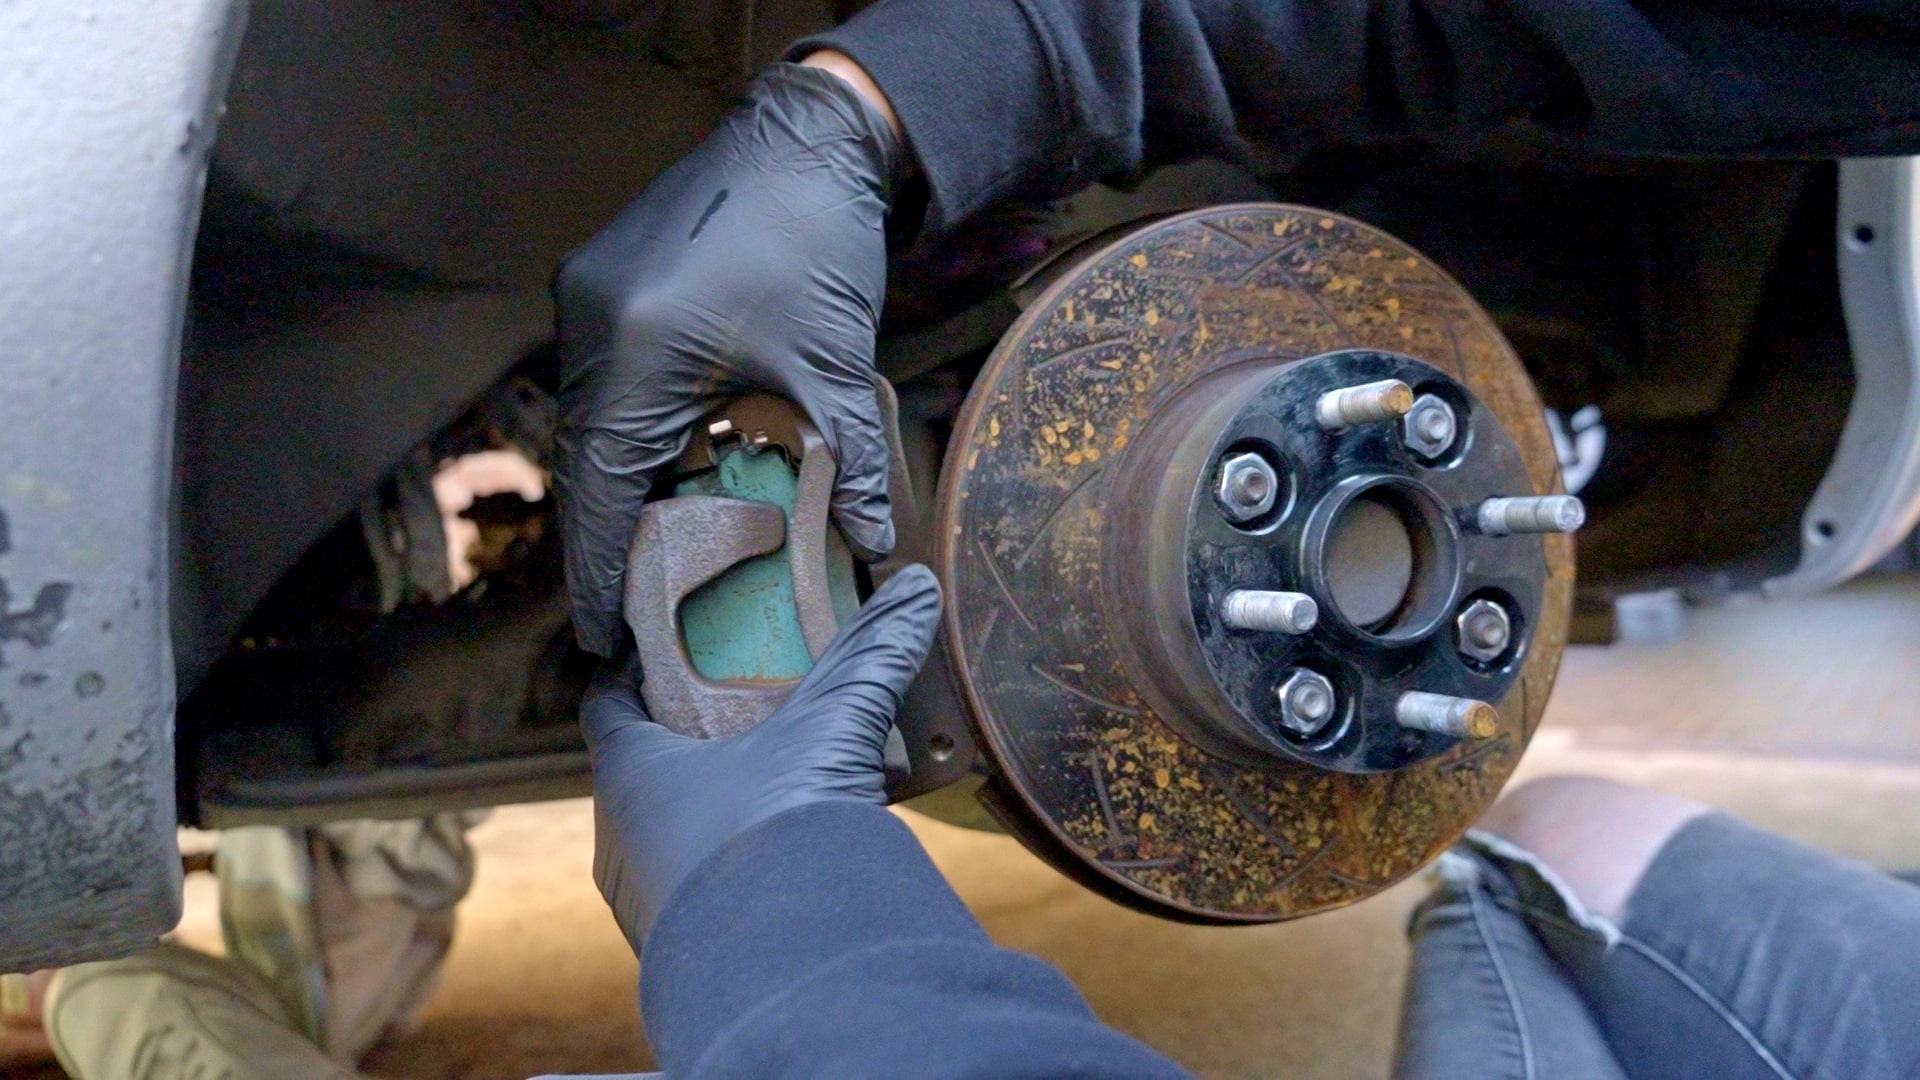
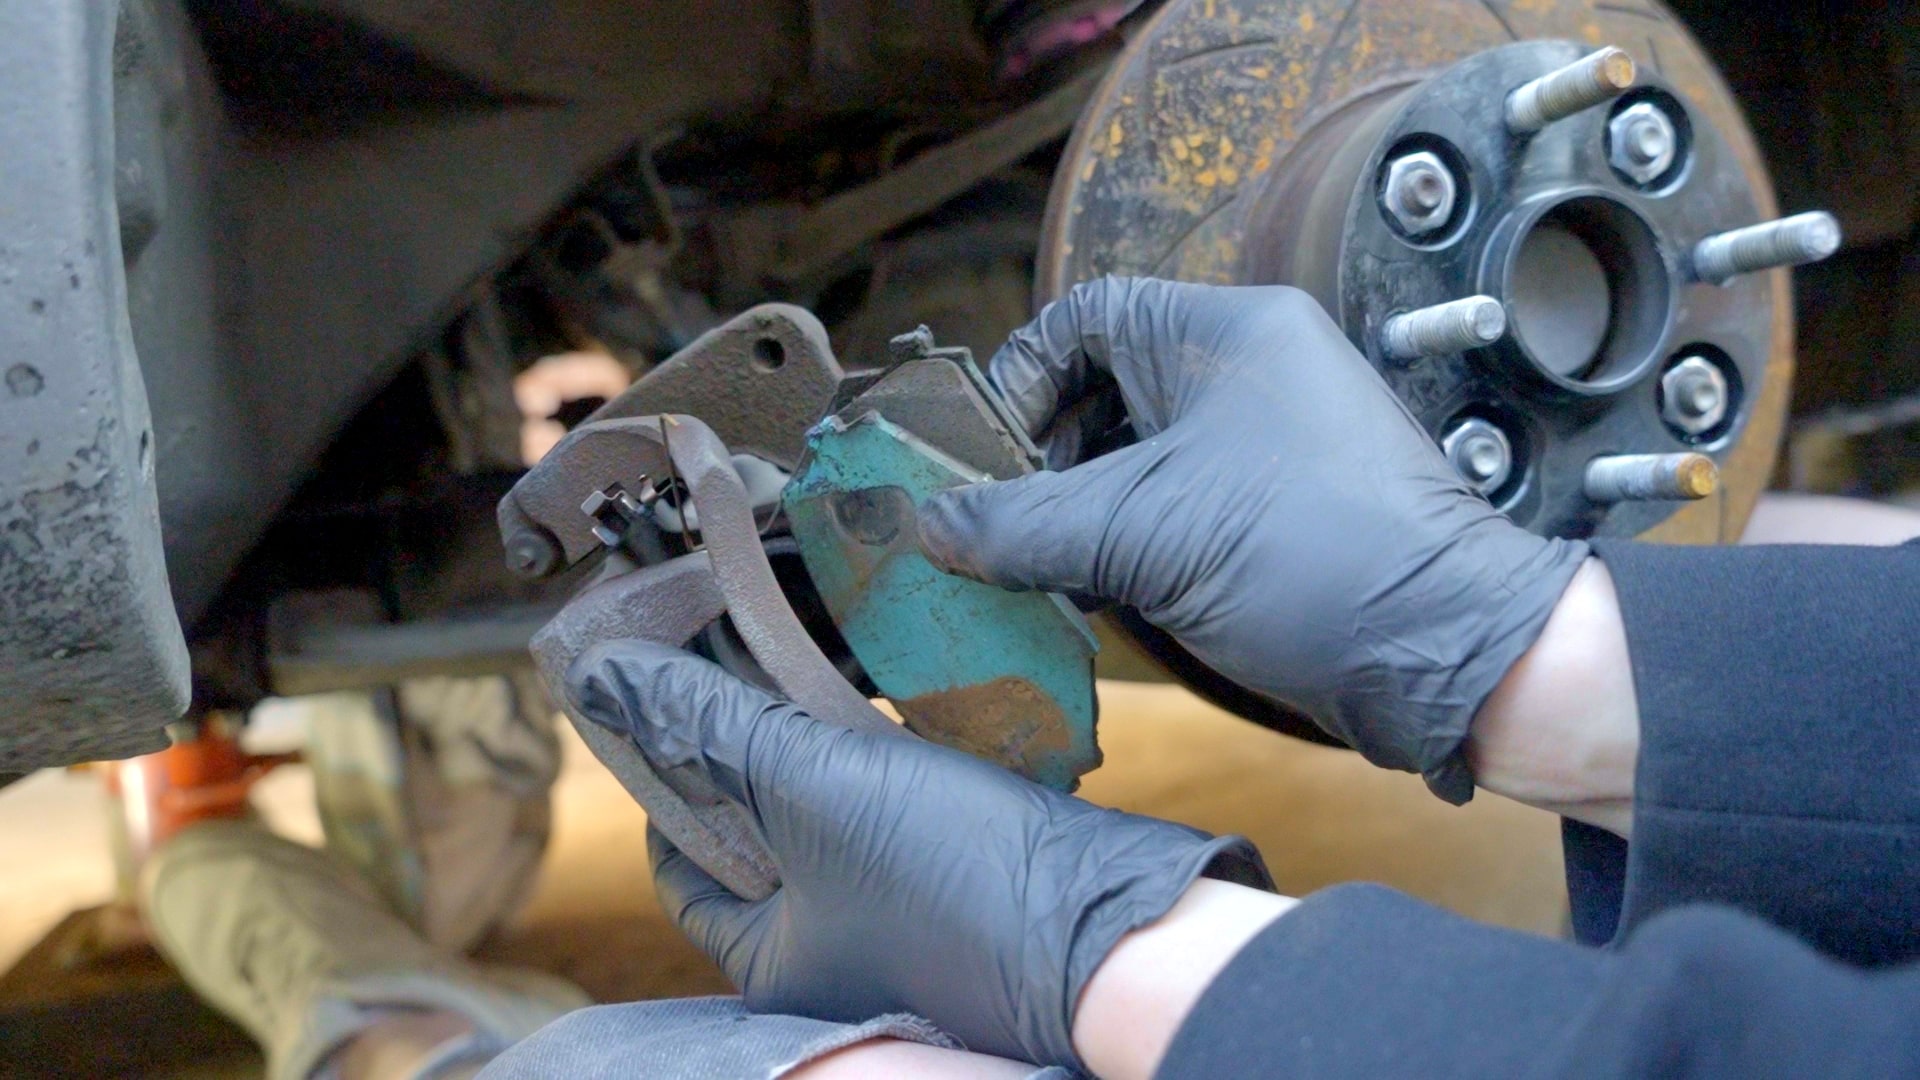
Step 2: Preparation for brake caliper paint
Each brake caliper part must be thoroughly scrubbed with a wire brush or wire wheel to remove built up dirt, dust, or corrosion. Be careful not to damage the rubber boots or caliper piston while you do this.
Once they’re all cleaned up; give them a good rinse over with the Montana solvent, and wipe with a rag to get every last bit of dirt and grease.
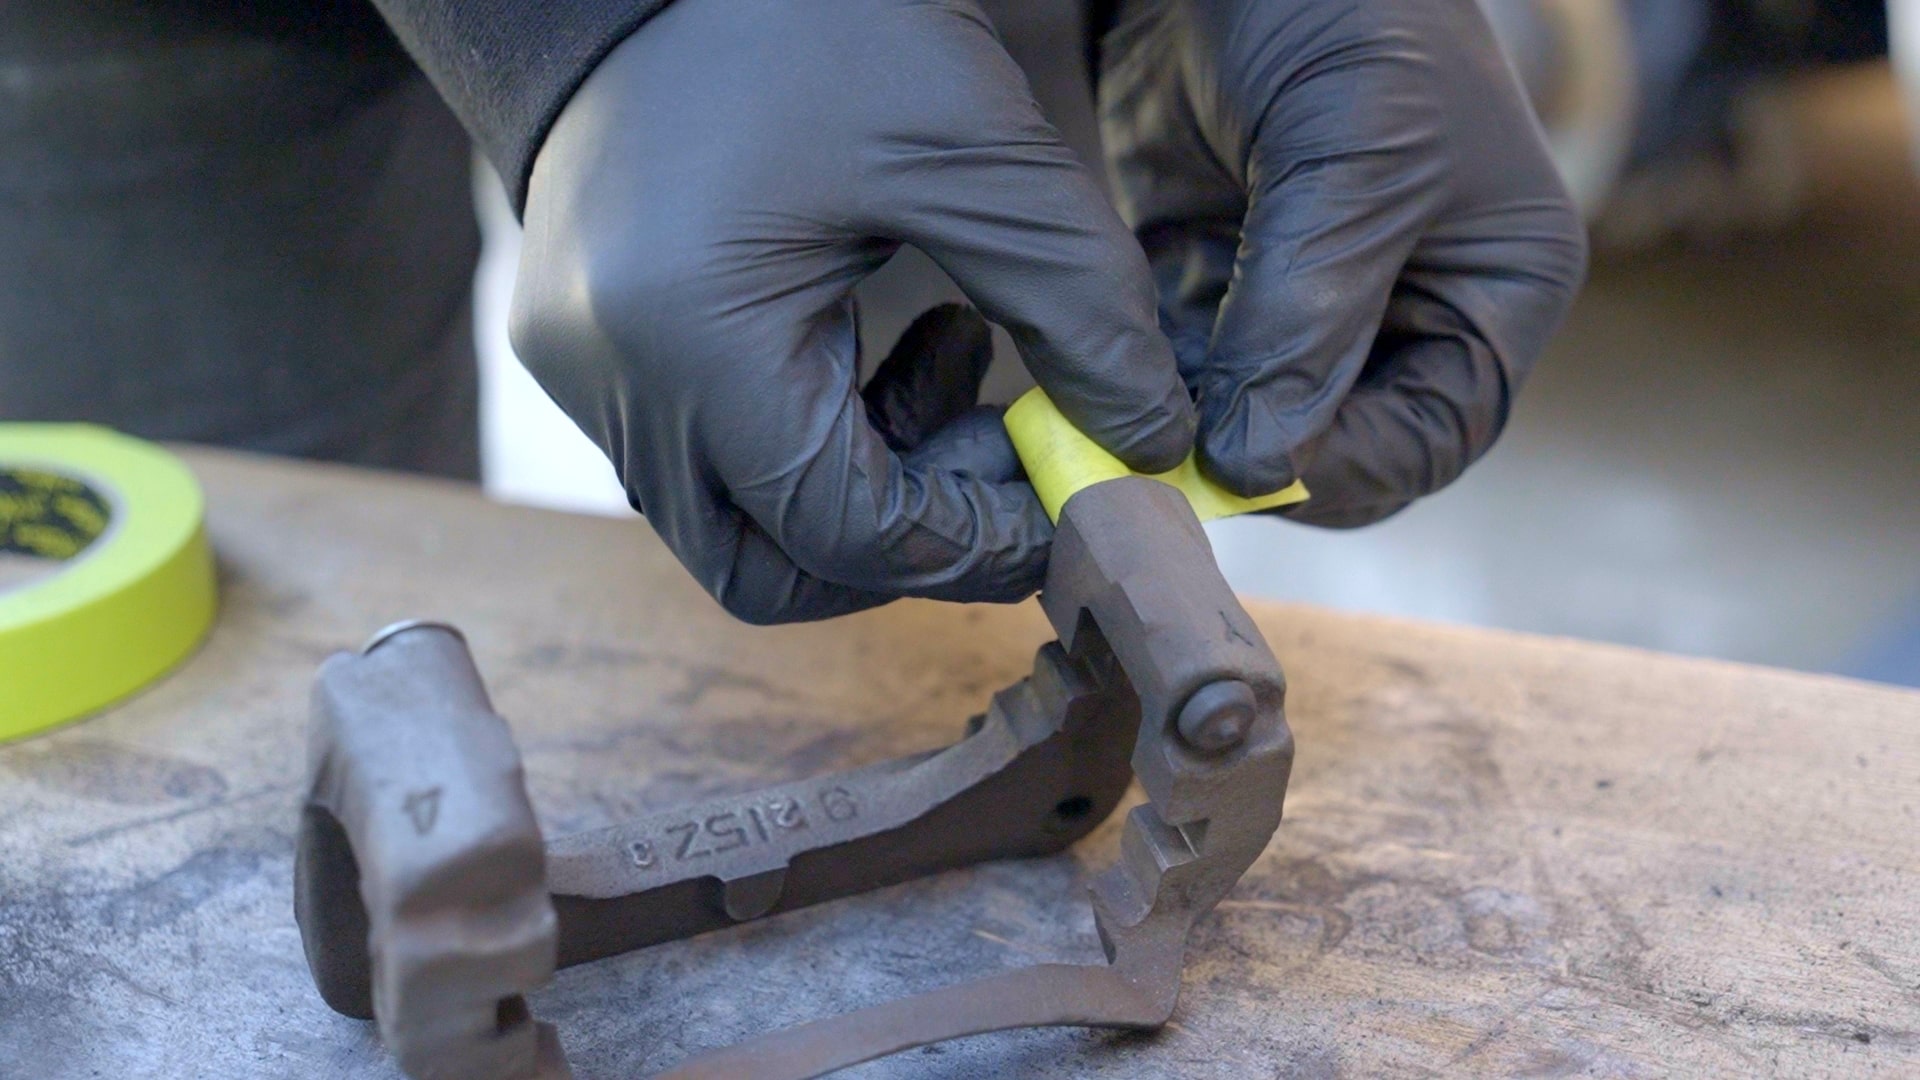
Finally, mask off the rubber boots and any other parts you don’t want painted.
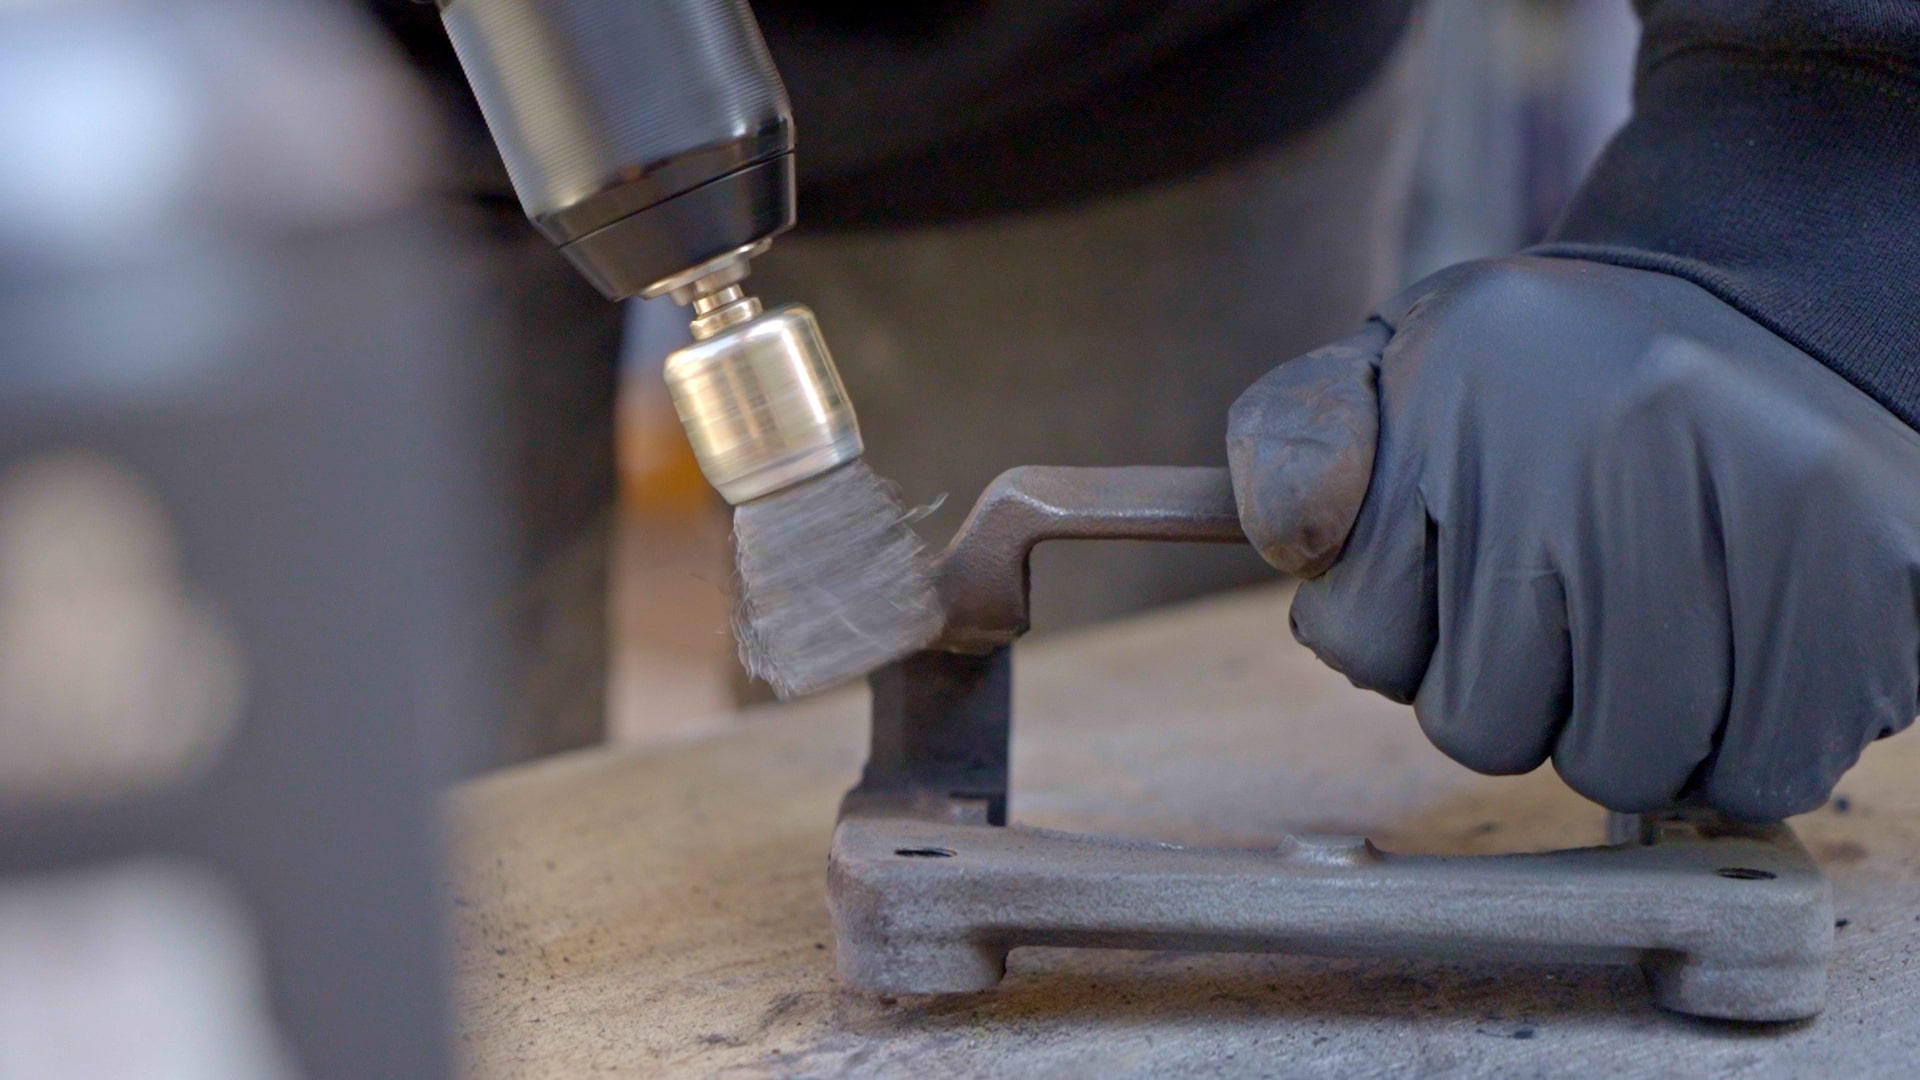
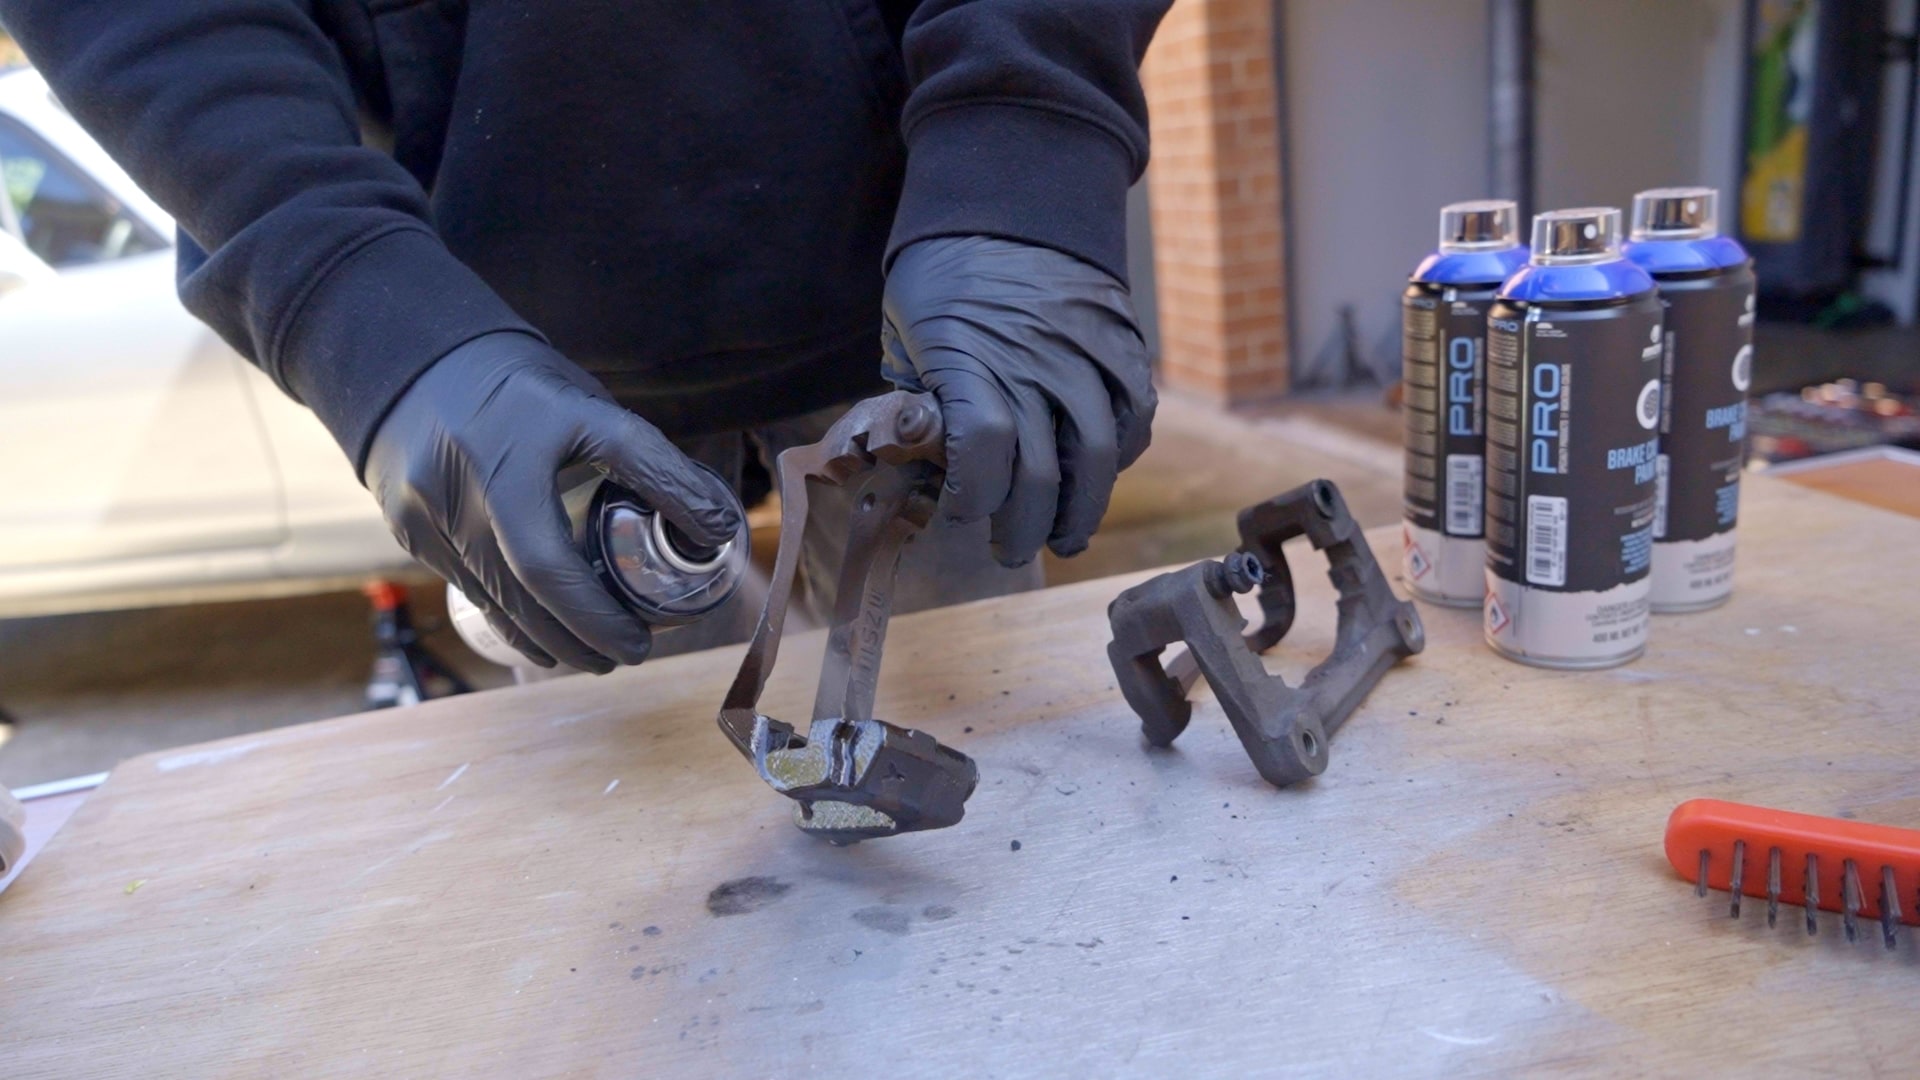
Step 3: How to paint brake calipers
Grab a can of your Montana Brake Caliper Paint and shake it like a polaroid picture! A good couple of minutes should get it mixed nicely.
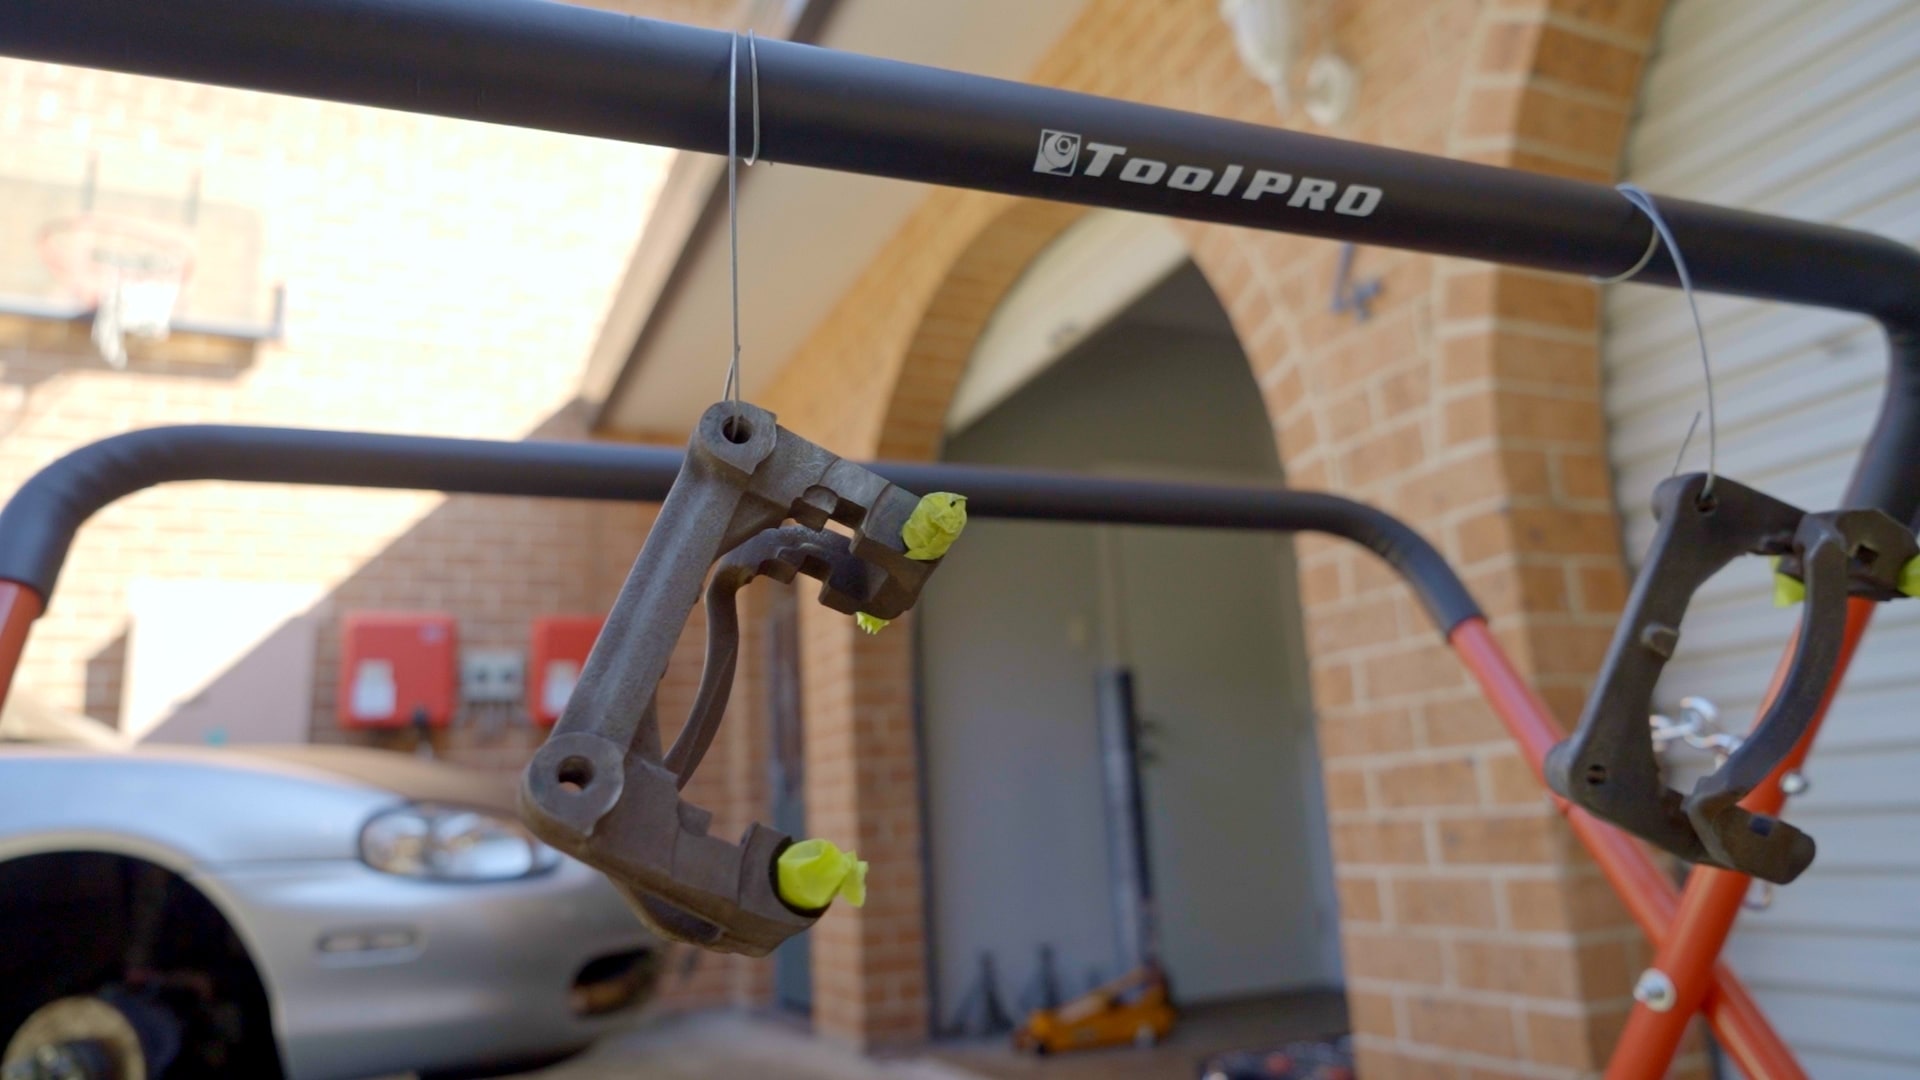
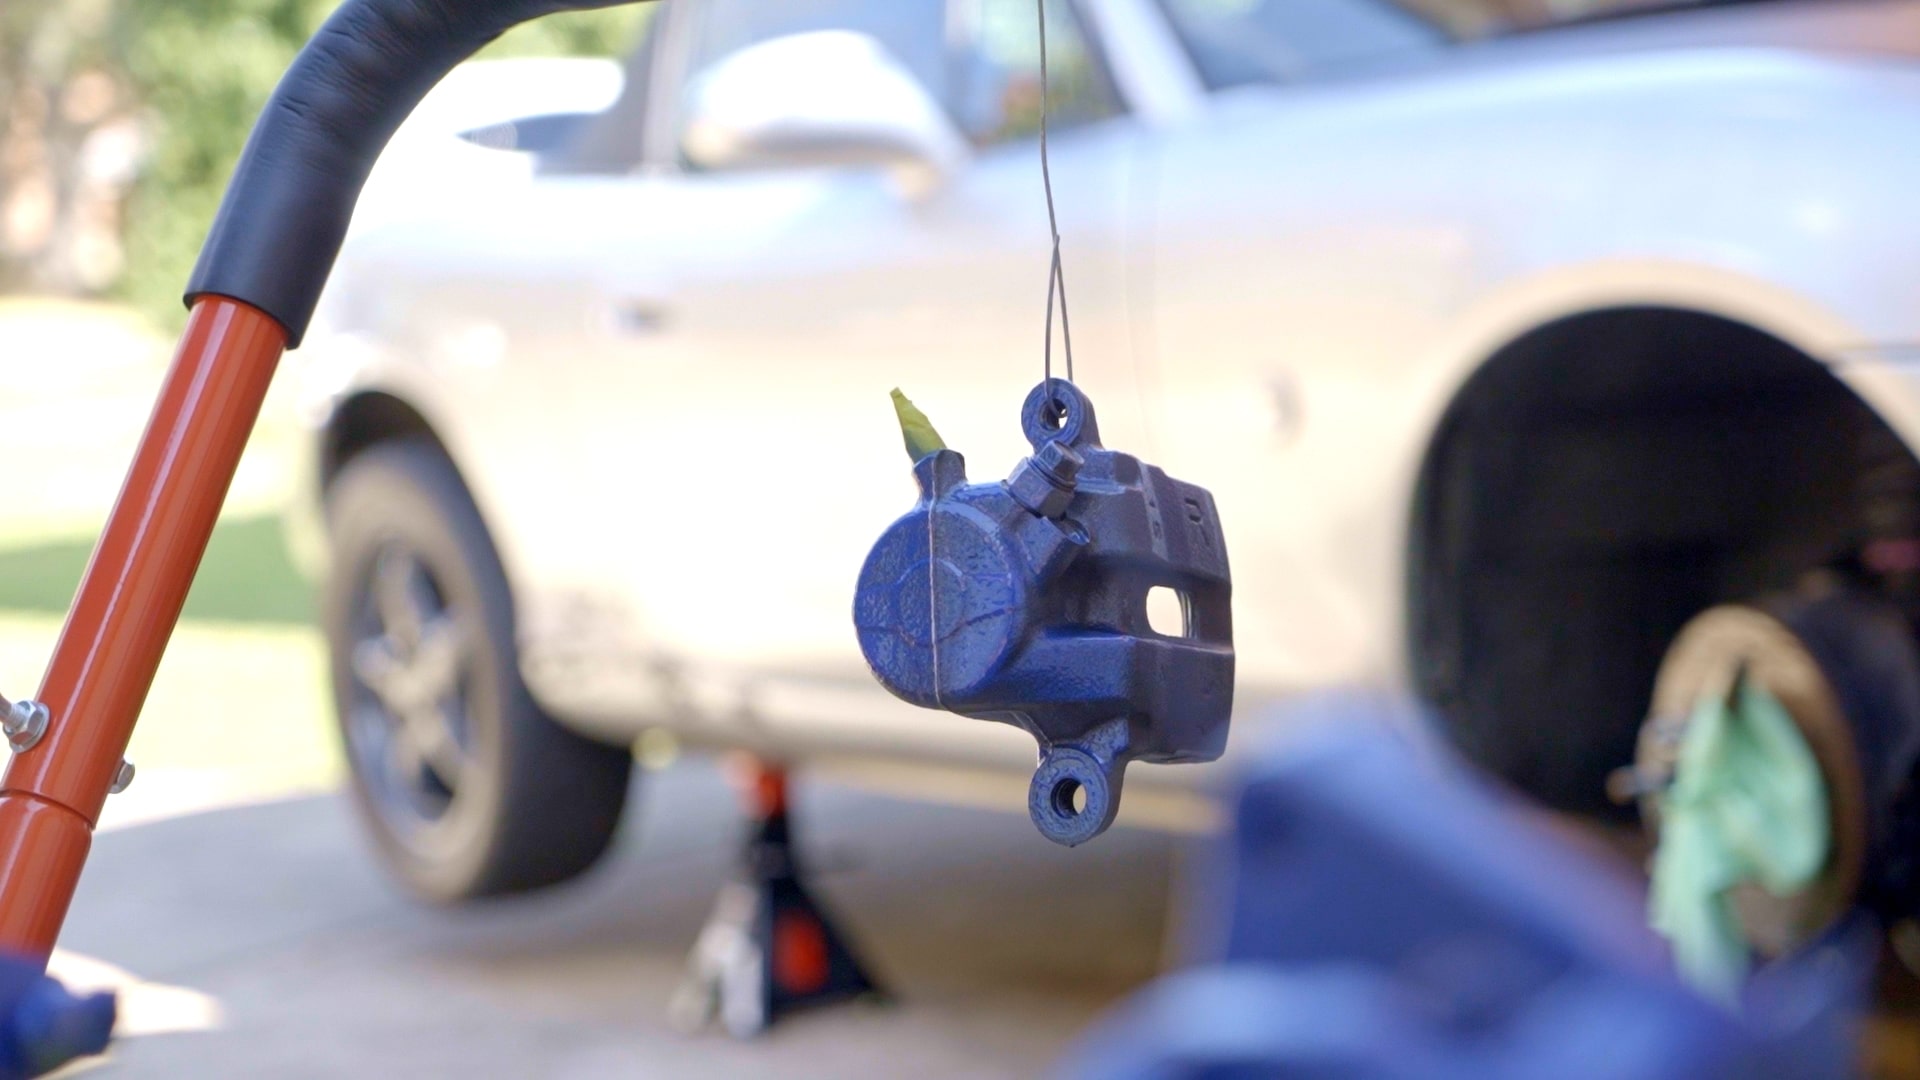
Then, with your caliper parts hanging off wires, work your way around each applying a light coat of brake caliper paint. Allow this coat to dry for 30 minutes, then do the same again. Multiple light coats are best, but you must ensure that at least 30 minutes is allowed between each, but no more than 48 hours.
Step 4: Assemble your brake calipers
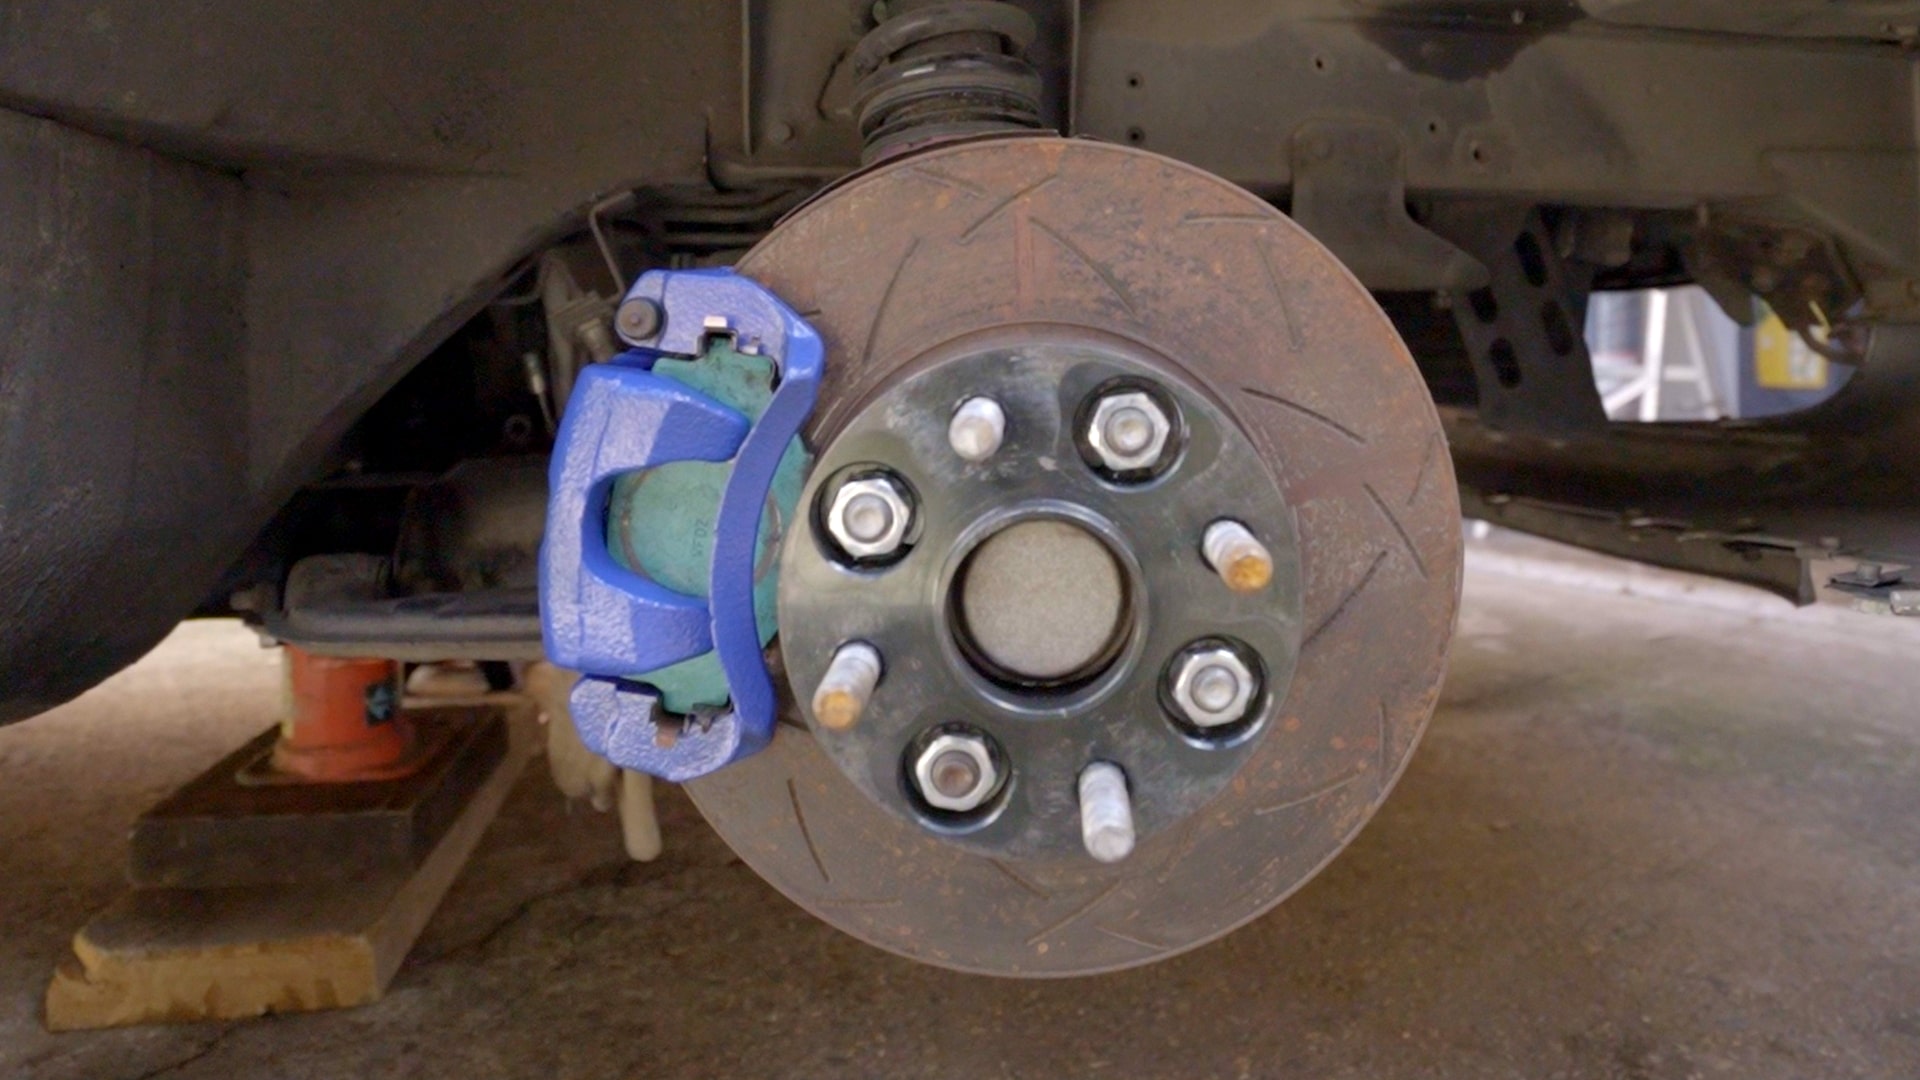
After allowing 48 hours for the brake caliper paint to cure; your brakes are ready to be reassembled. You can re-watch our ‘how to replace brake pads’ DIY, and cross check with your workshop manual to help you get everything back together safely. Don’t be concerned about a little knock here and there, this brake caliper paint is SUPER durable.
Step 5: Take it for a spin!
Pop your wheels on and pump the brakes with the engine off until the pedal firms up. Test the brakes in your driveway a couple of times before you hit the road. Oh, and don’t be too concerned if you notice an odd smell, that fresh paint will cure in no time and last for many years of driving.
Tips
Find detailed instructions and more ways to help you MAKE IT SUPER at Supercheap Auto’s SUPER DIYs.
*Important information* - Click here to read more about our DIY Advice Terms and Conditions.