Supercheap Auto carries a range of work benches to suit all budgets and needs. Assembling your SCA or ToolPRO work bench correctly is essential for safety - and it’s super easy if you follow this video.
Step 1 - Gather & Sort Components
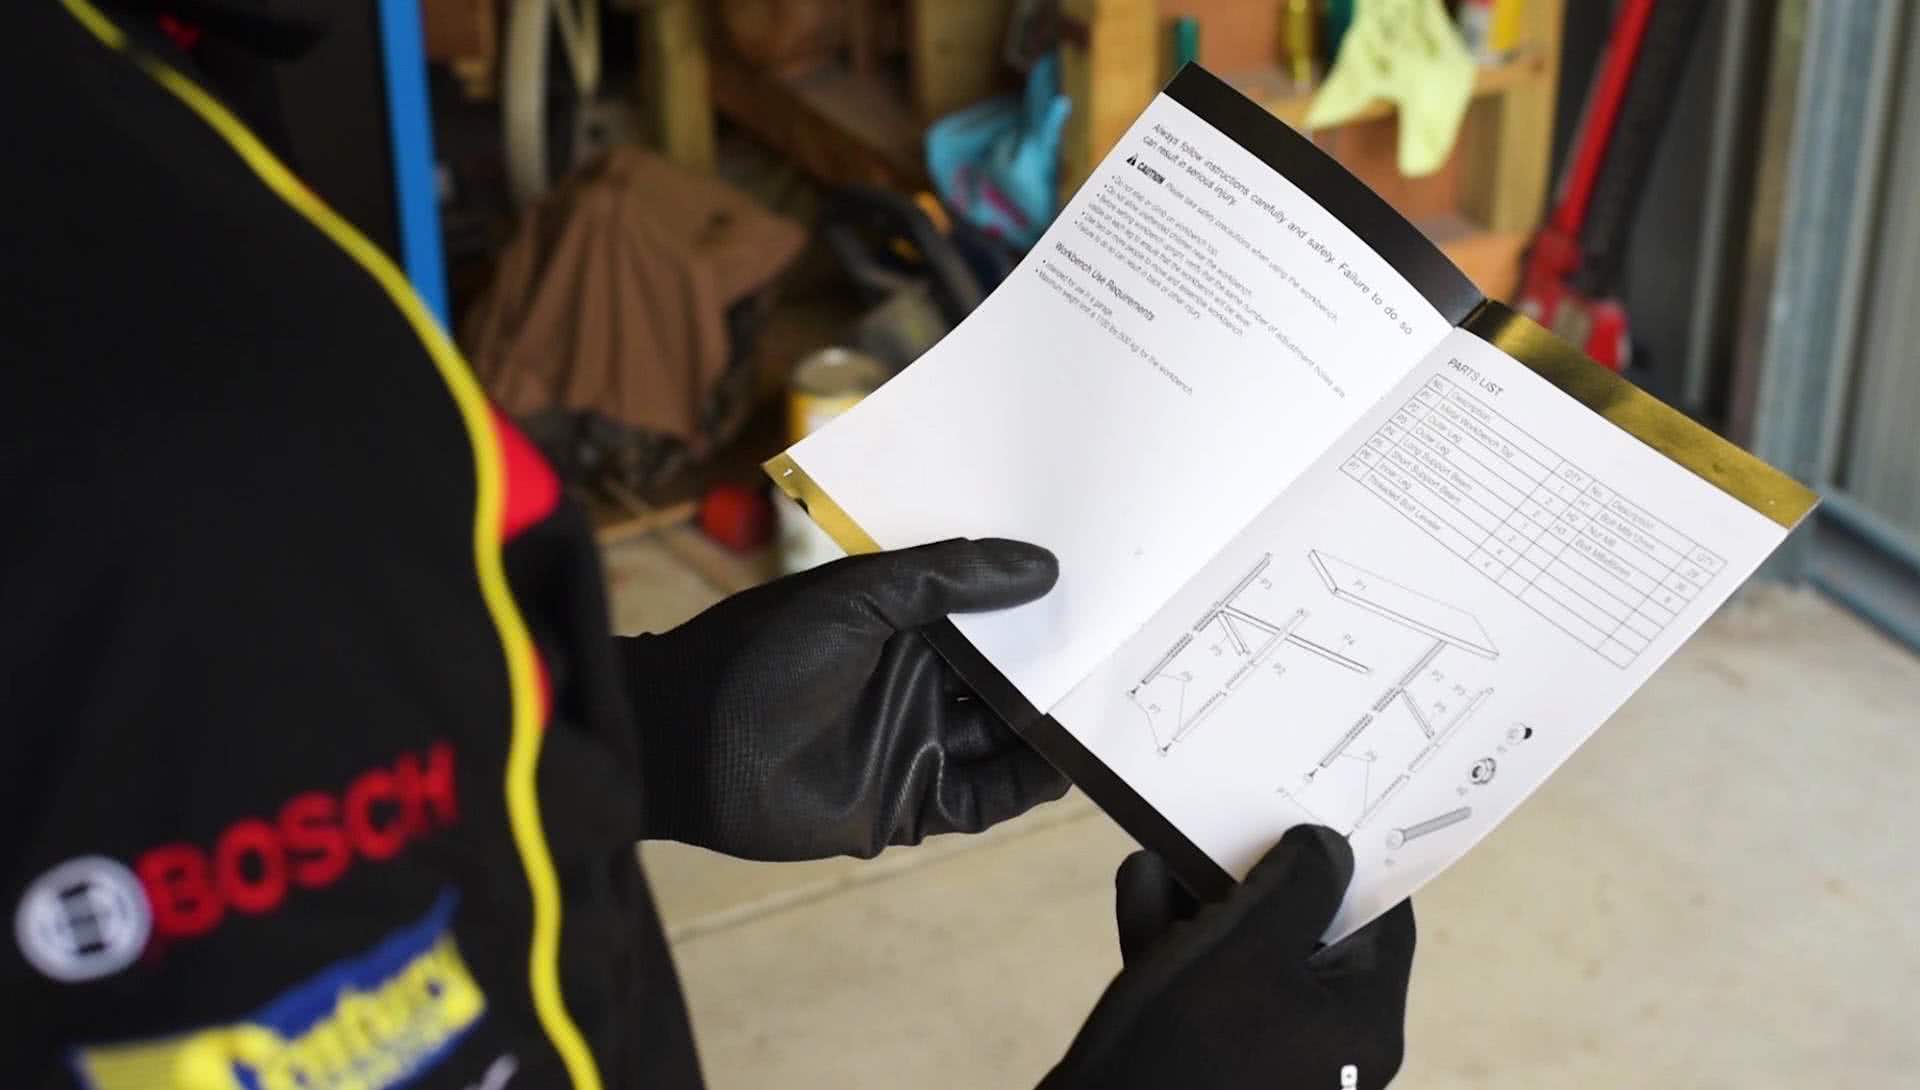
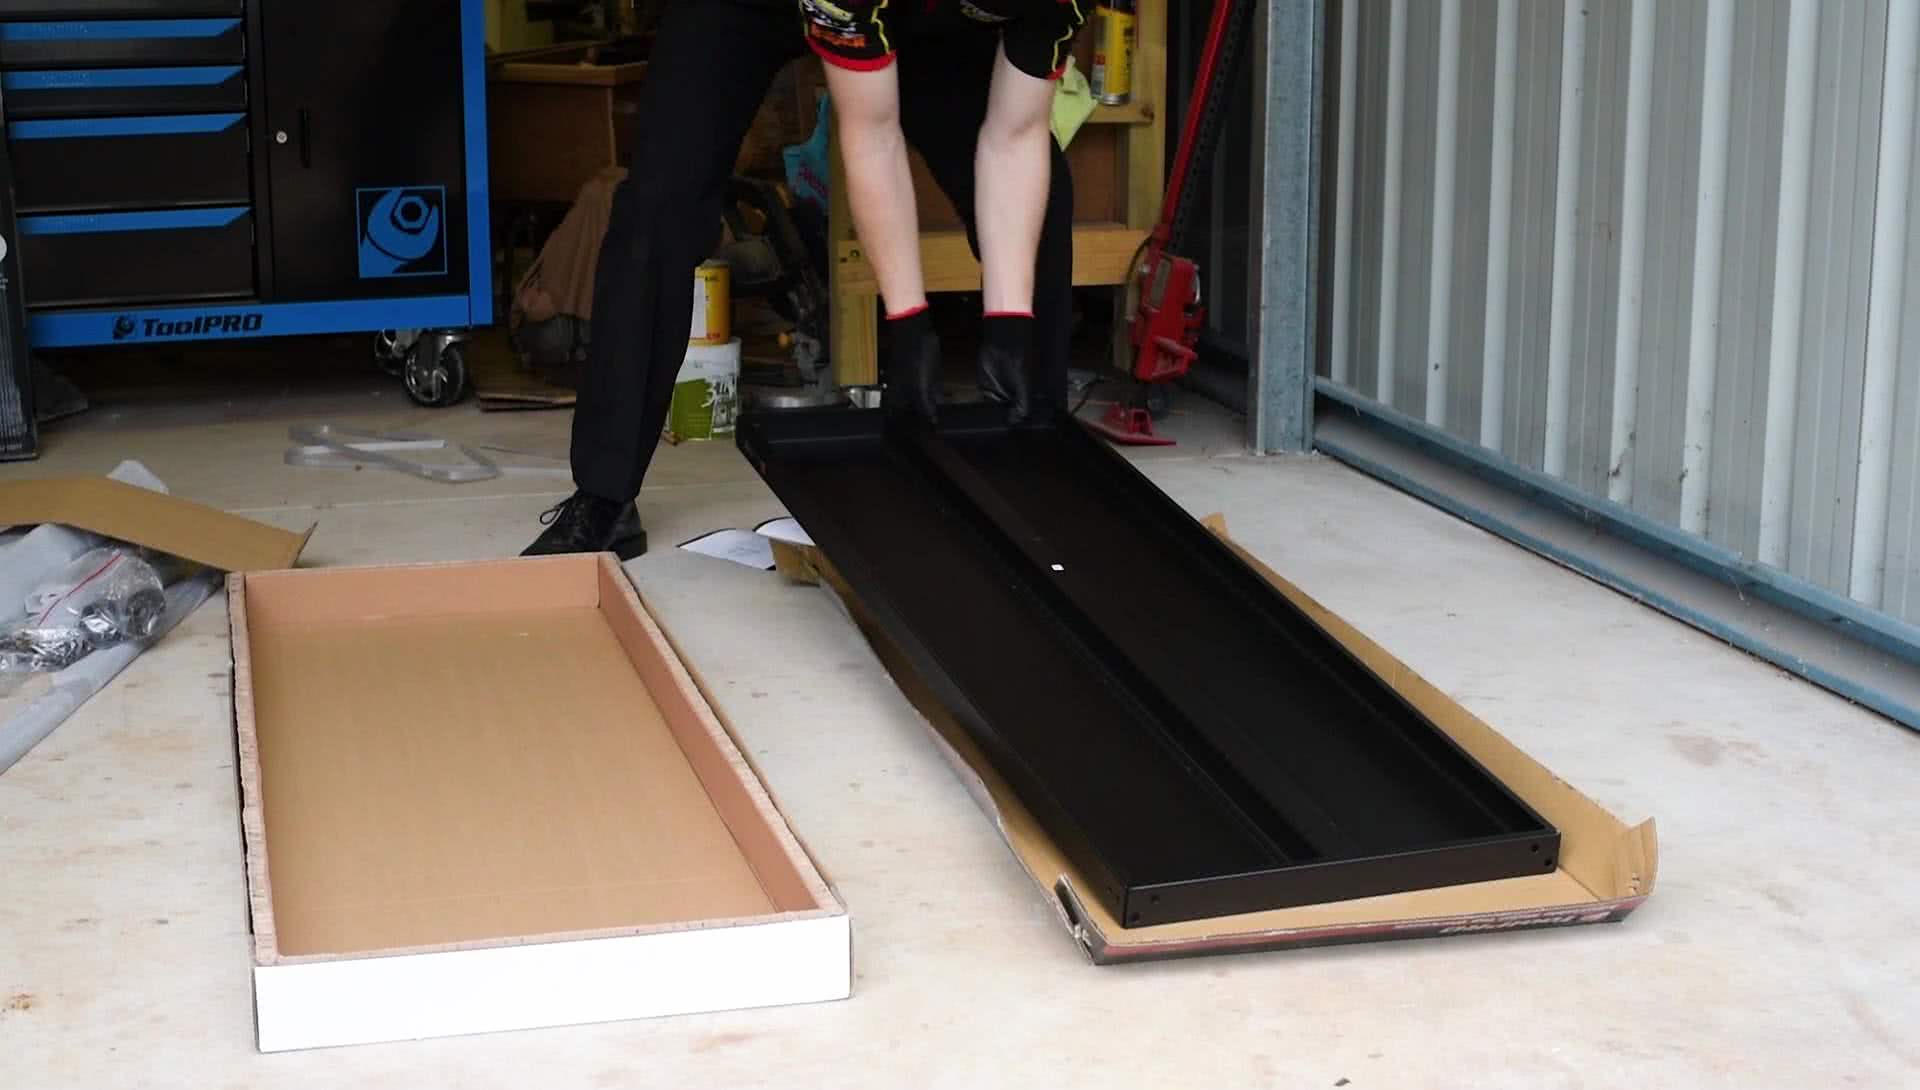
In this guide, we will be putting together the Metal Top work bench. This ToolPRO adjustable metal work bench is rated to a massive 500 kilograms – making correct assembly even more important.
First up, remove all the parts from the packaging, locate the instructions – and ensure that everything on the parts list is included in your kit.
This work bench is easier to assemble upside down – and laying it upon the packaging will protect the bench top from scratches.
Step 2 - Piece Legs Together
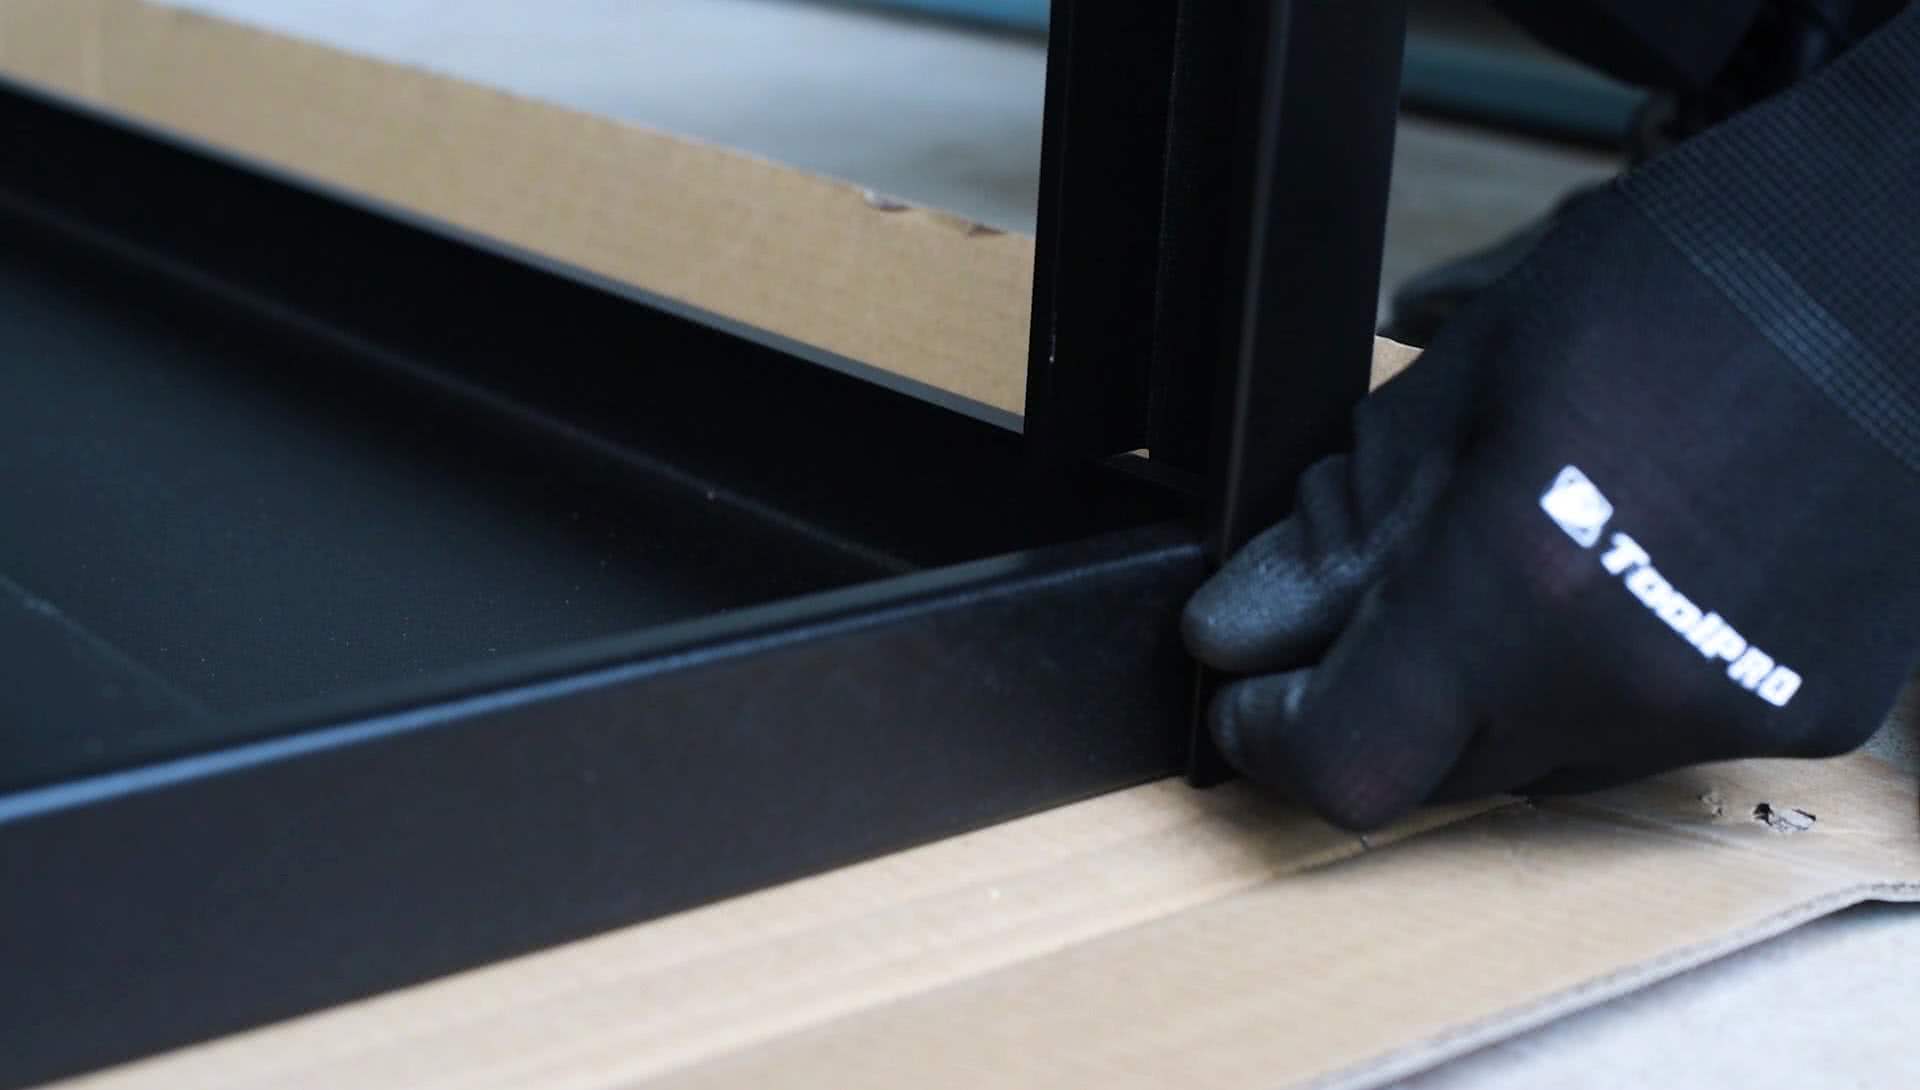
Grab the four leg pieces labelled P2 and P3 – and 16 nuts and bolts labelled H1 and H2.
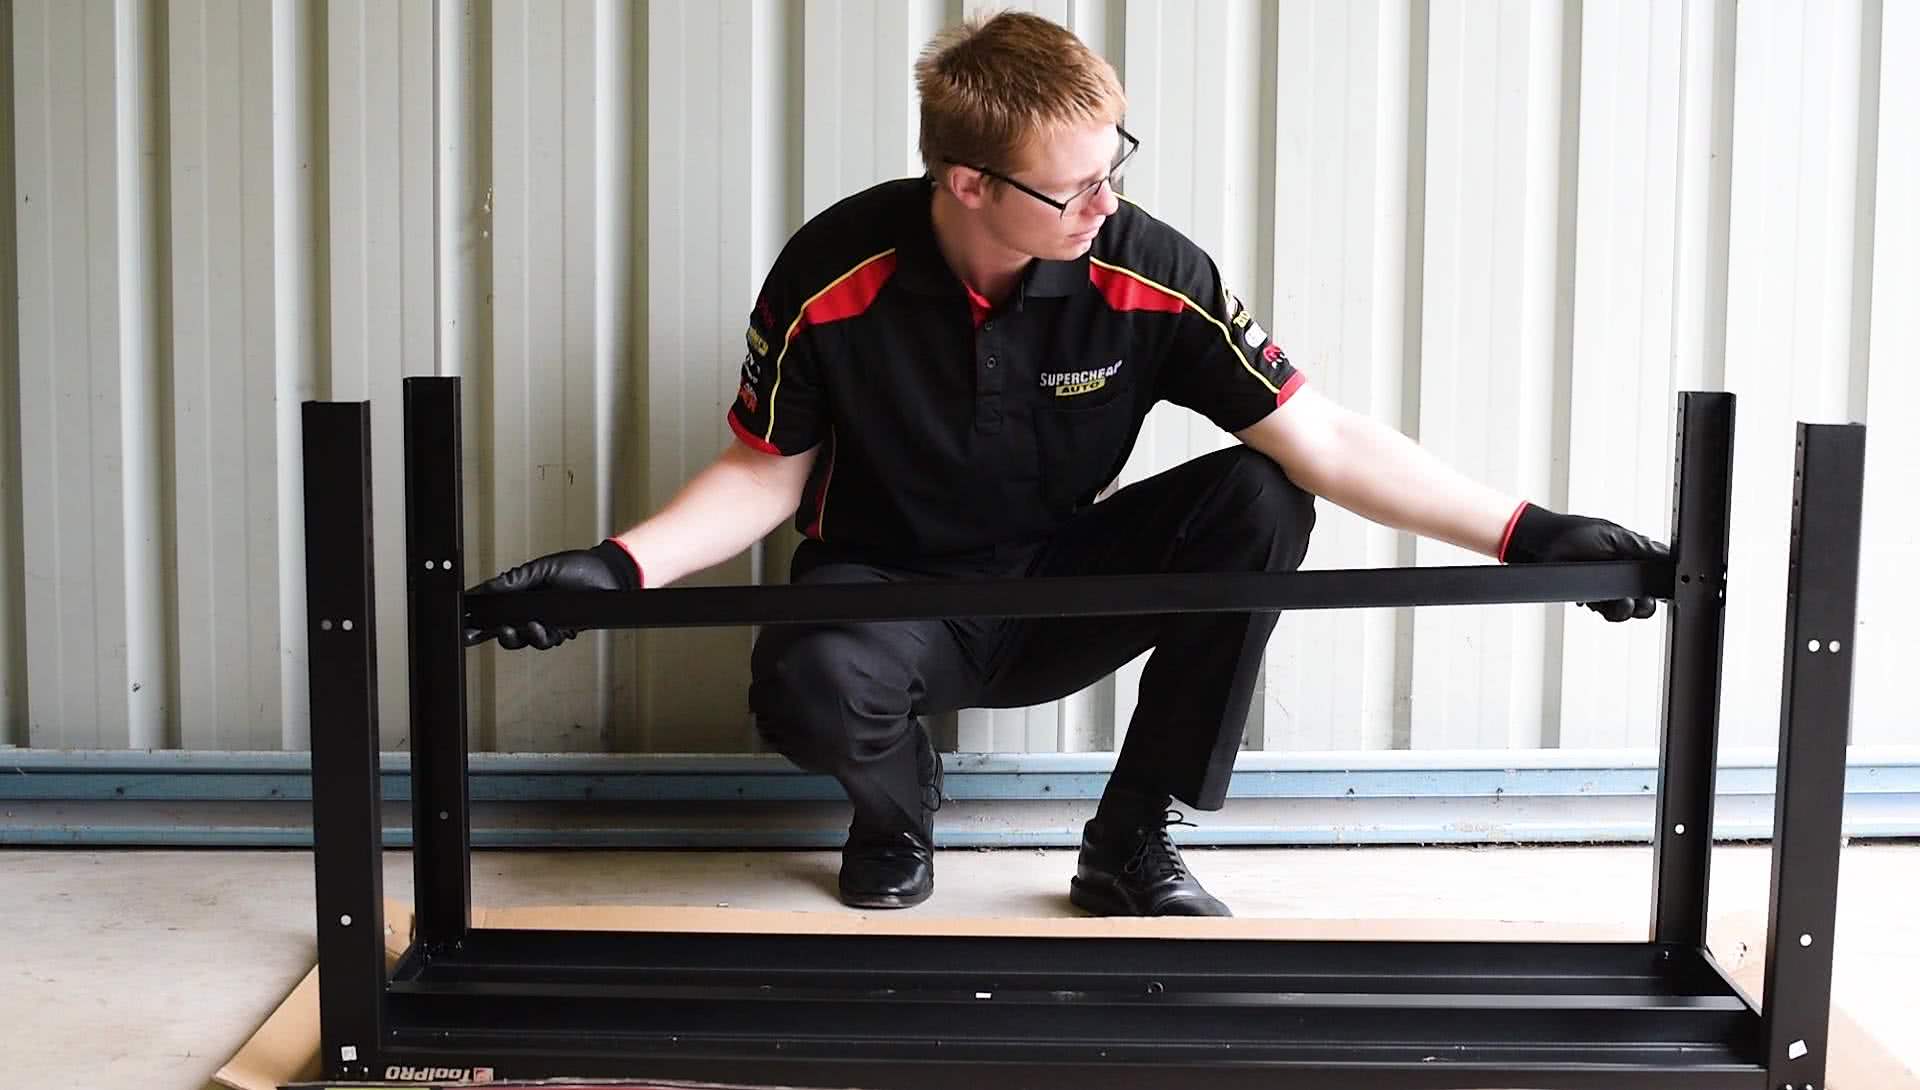
Fasten the legs to the corners using four nuts and bolts per leg. Ensure that the matching numbered legs are situated diagonally from each other; and avoid fully tightening the bolts at this stage.
Take part P4 - the long support beam and install it on what will become the back of your work bench. At this stage the short support beams (labelled P5) should also be installed – and all three support beams attached using the same H1 and H2 short fasteners.
Step 3 - Bolt Base Together
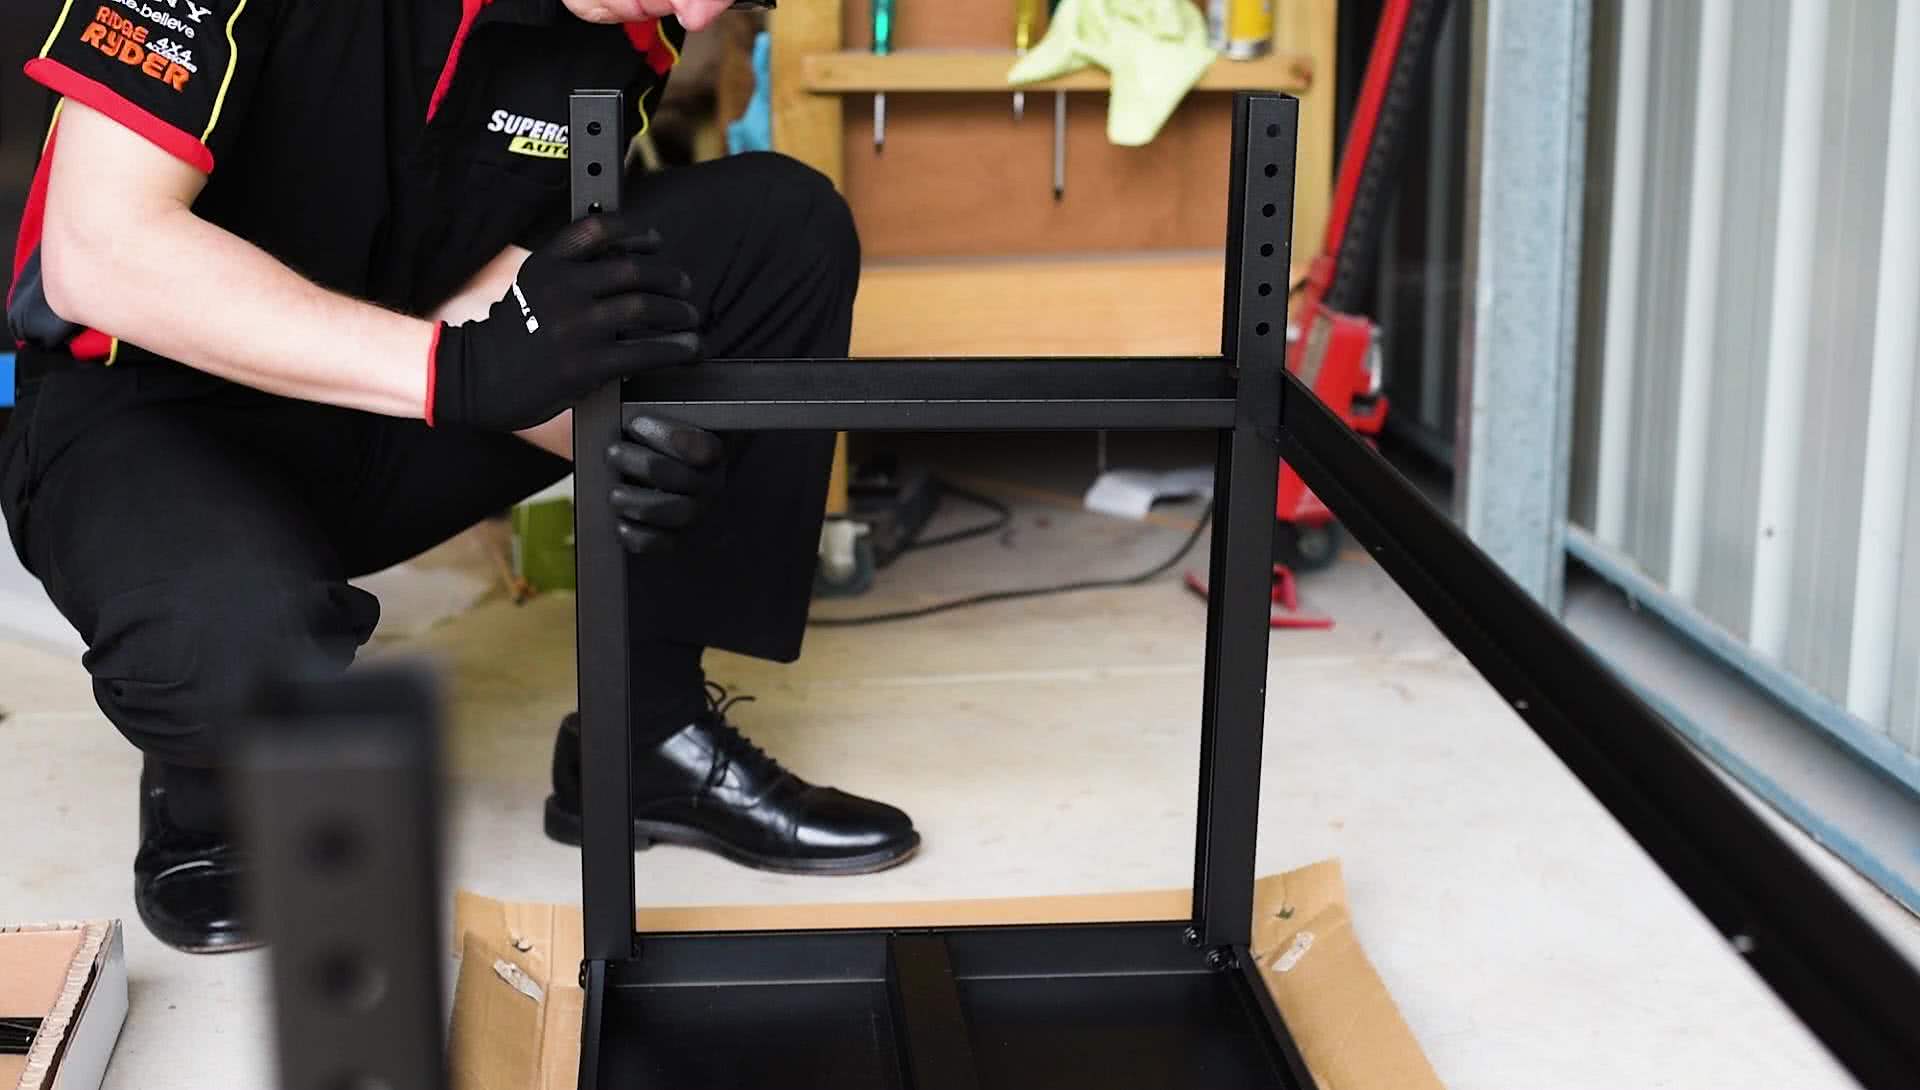


Now fit the four inner legs labelled P6 into the outer legs and secure these using two H3 long bolts and H2 nuts through each leg. At this stage you can set the height you’d like your work bench – so be sure to align the holes exactly the same for each leg.
Before you flip the work bench right side up, quickly install a levelling foot into each leg. With the help of a friend, turn the work bench onto its feet. At this stage the fasteners can all be tightened up.
Step 4 - Final Adjustments
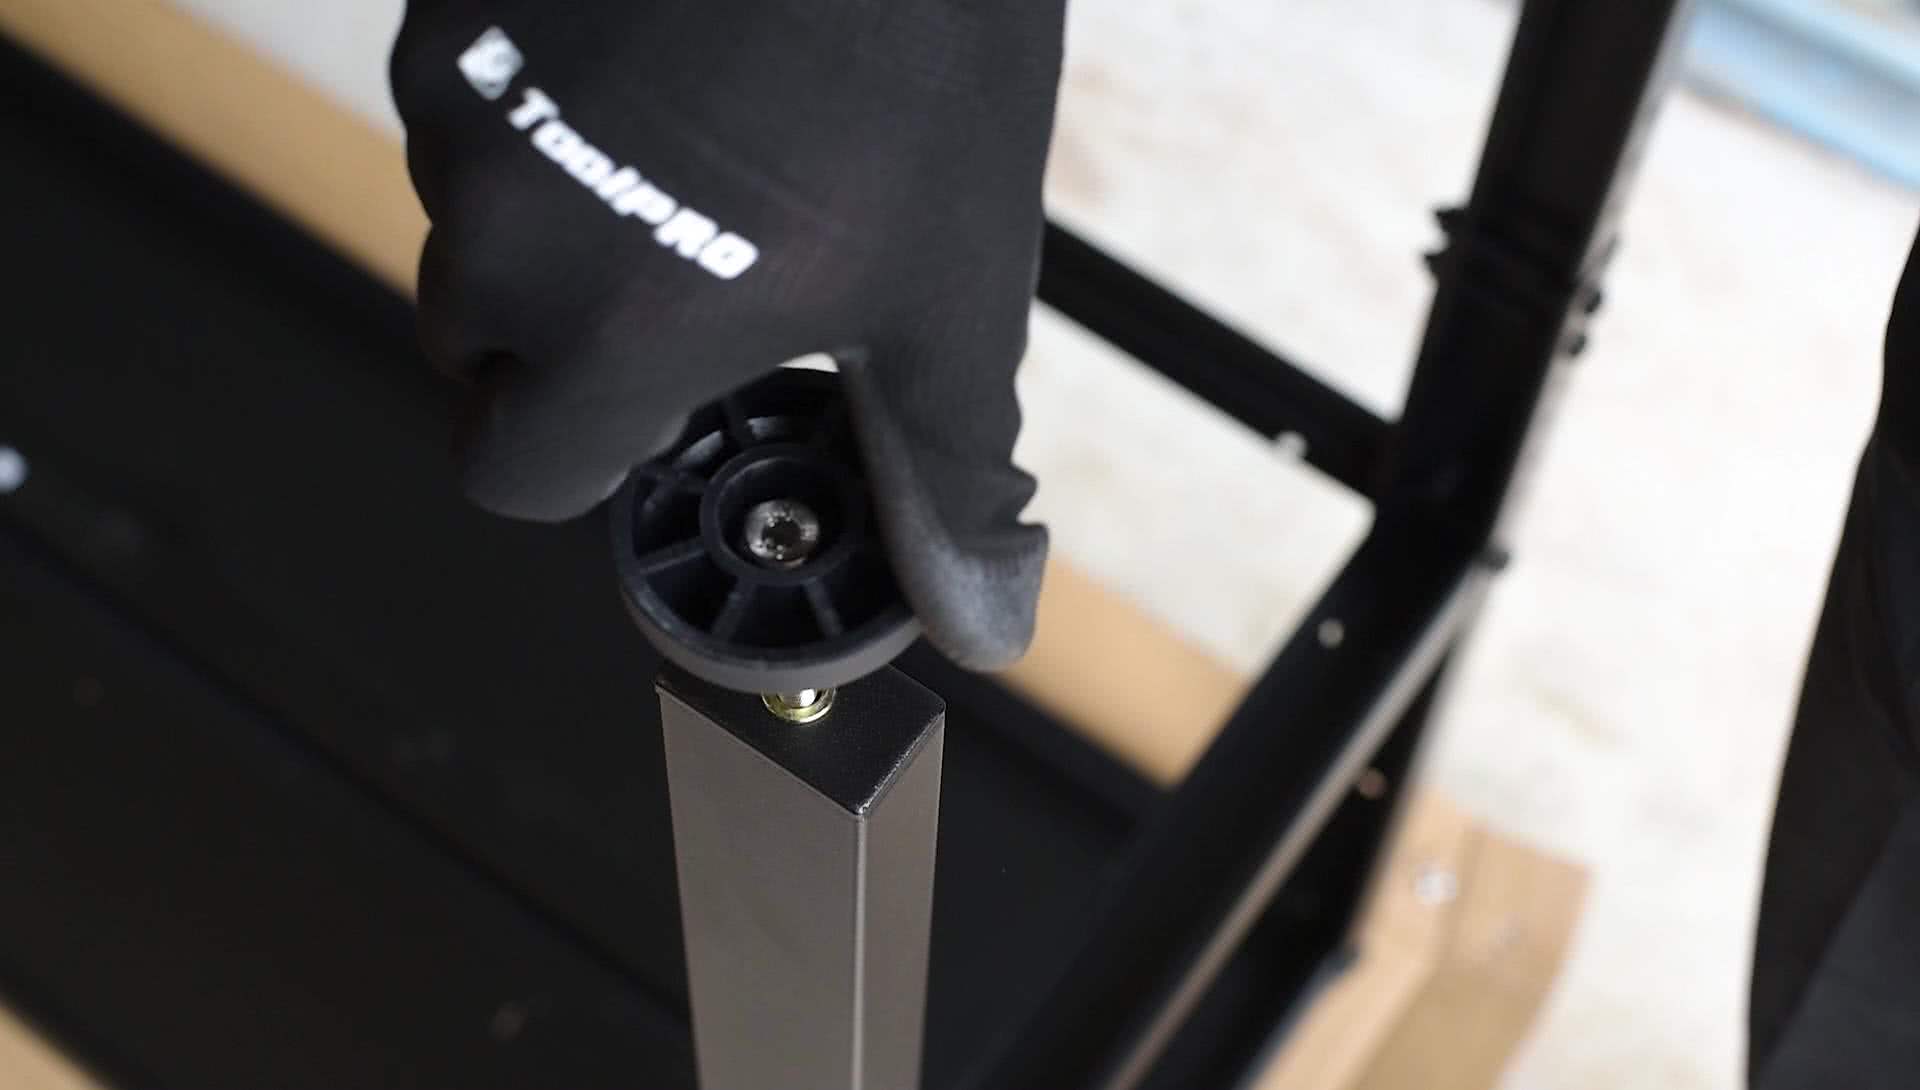
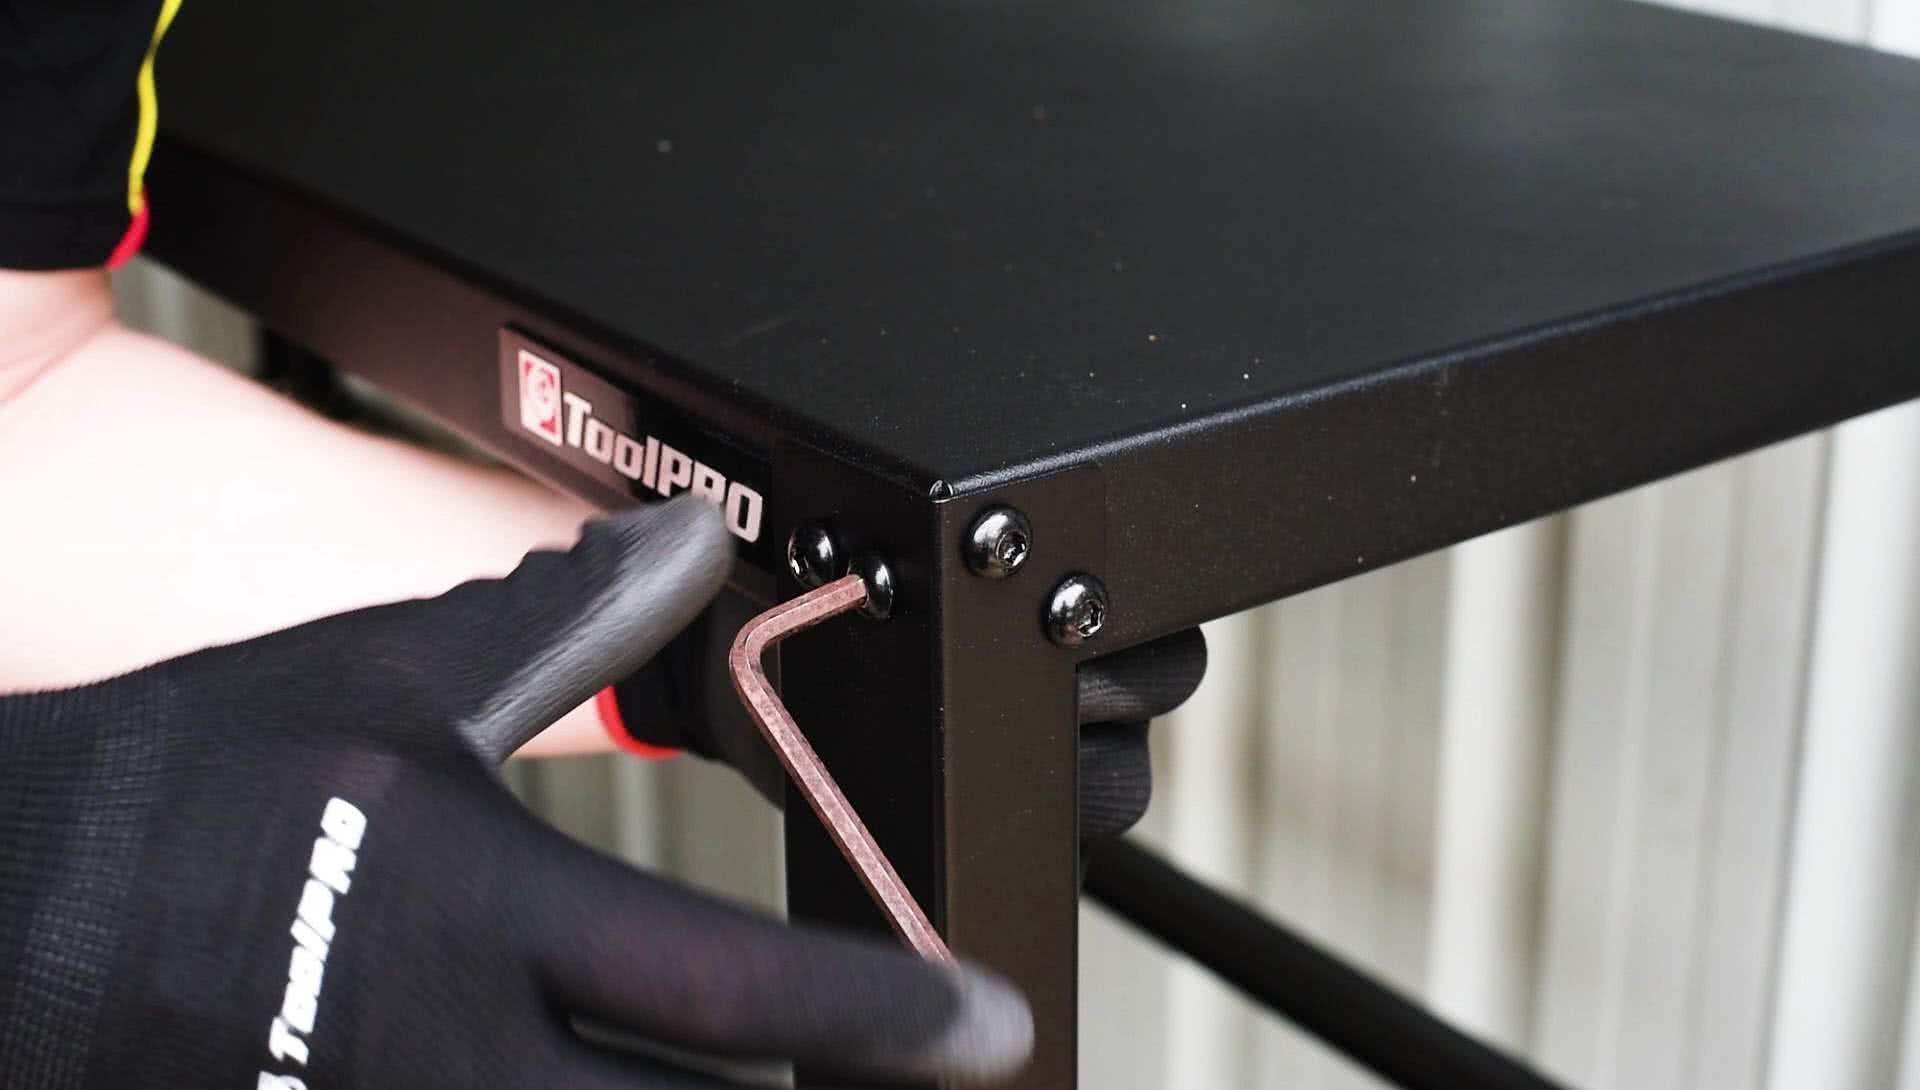
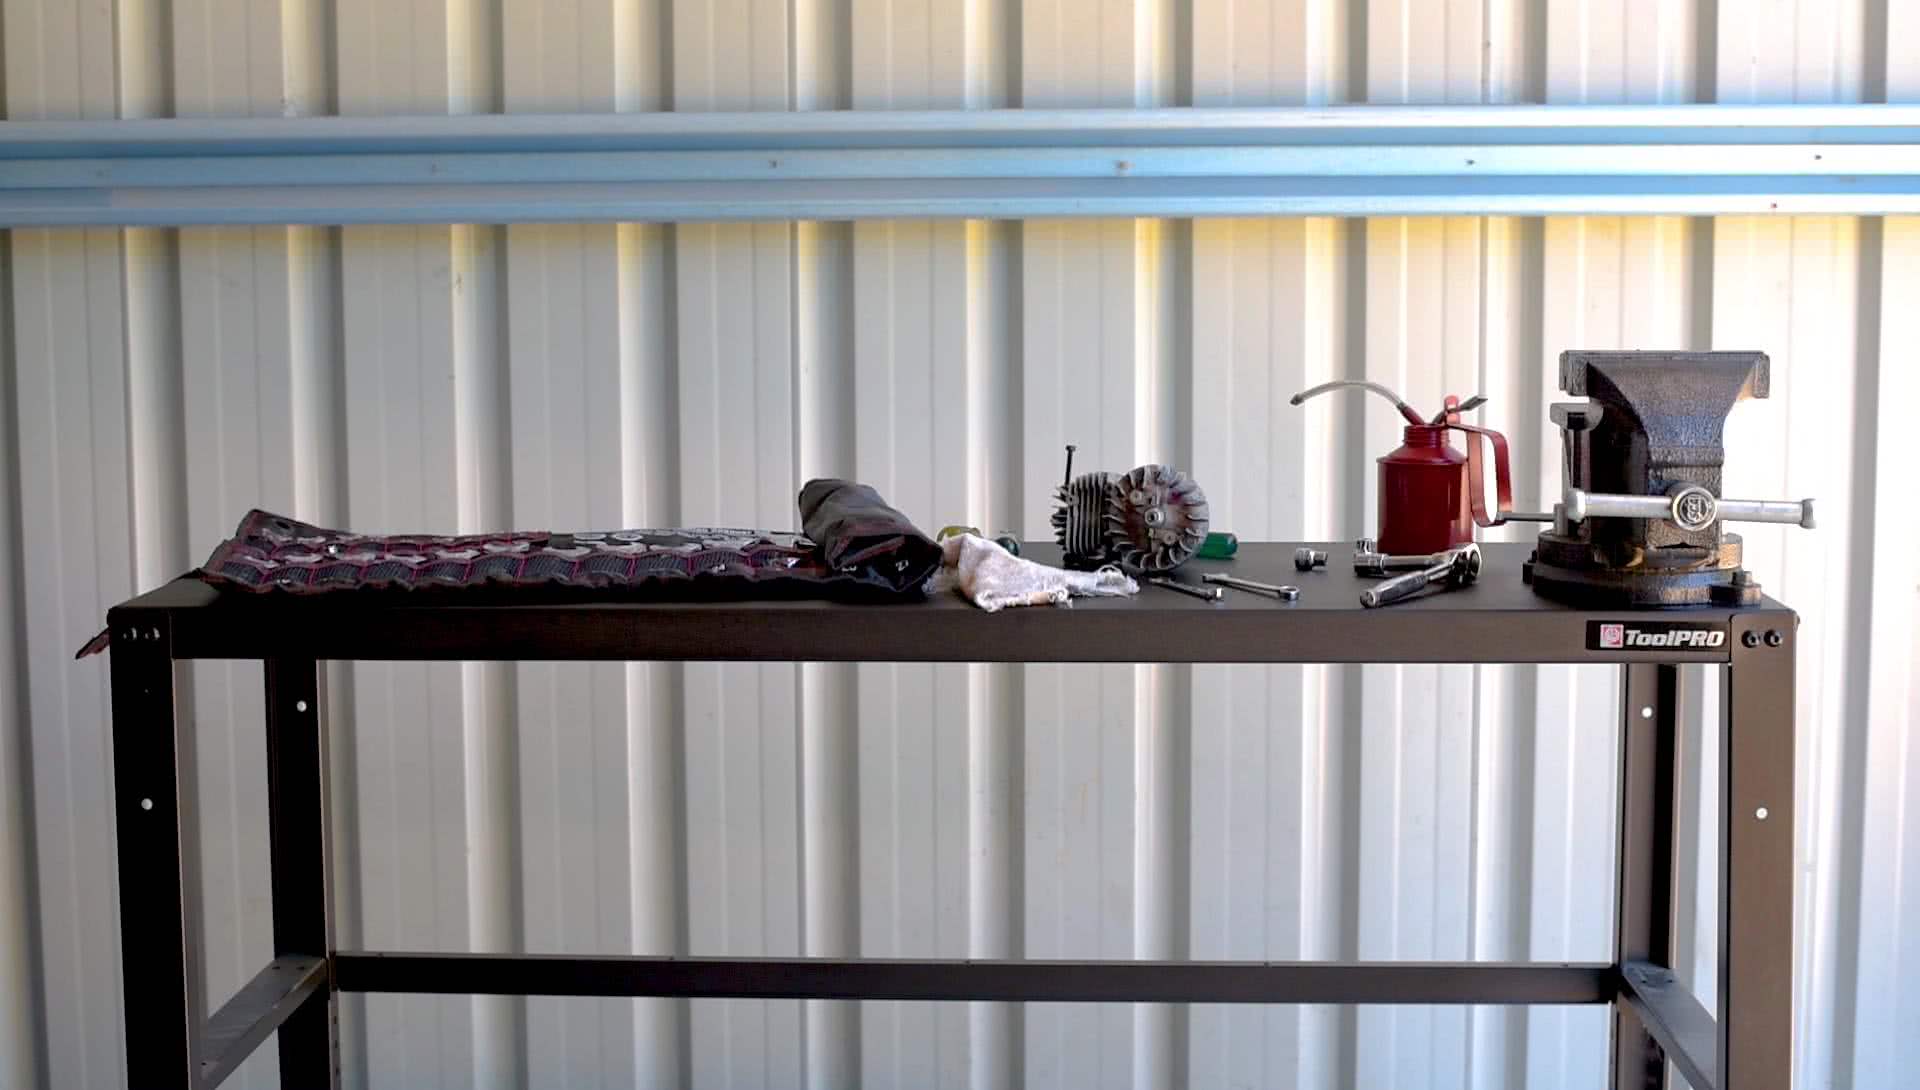
Once your work bench is in position, any minor adjustments to individual leg height can be made by winding the adjusters in or out. This will help compensate for any uneven surfaces and ensure that your work bench is as sturdy and level as possible.
*Important information* - Click here to read more about our How-To terms and conditions.